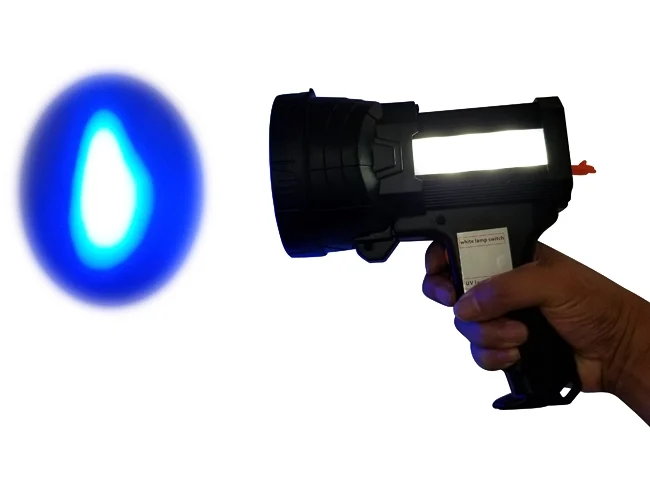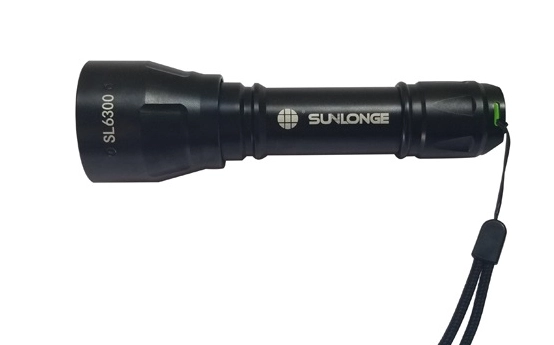
Leaks can be costly, disruptive, and difficult to find when they occur inside sealed systems, behind components, or in areas with poor visibility. In industries such as HVAC, refrigeration, automotive, manufacturing, and fluid handling, even a small leak can lead to downtime, contamination, lost product, or safety risks. Traditional inspection methods often take too long or fail to reveal the exact source of the problem.
UV light for leak detection is a fast and highly effective method for locating leaks by making fluorescent tracer dyes visible under ultraviolet illumination. When the dye escapes with the leaking fluid, it glows under UV light, allowing technicians to pinpoint the source quickly and accurately.
This guide explains how the method works, where it is used, what equipment is needed, and how to get the best results in real-world inspections.
What Is UV Light for Leak Detection?
UV light for leak detection is a non-destructive inspection method that uses ultraviolet illumination to reveal fluorescent dye that has escaped from a leaking system. It is widely used because it helps technicians locate leaks without dismantling equipment or waiting for visible signs like staining, pooling, or pressure loss to become obvious.
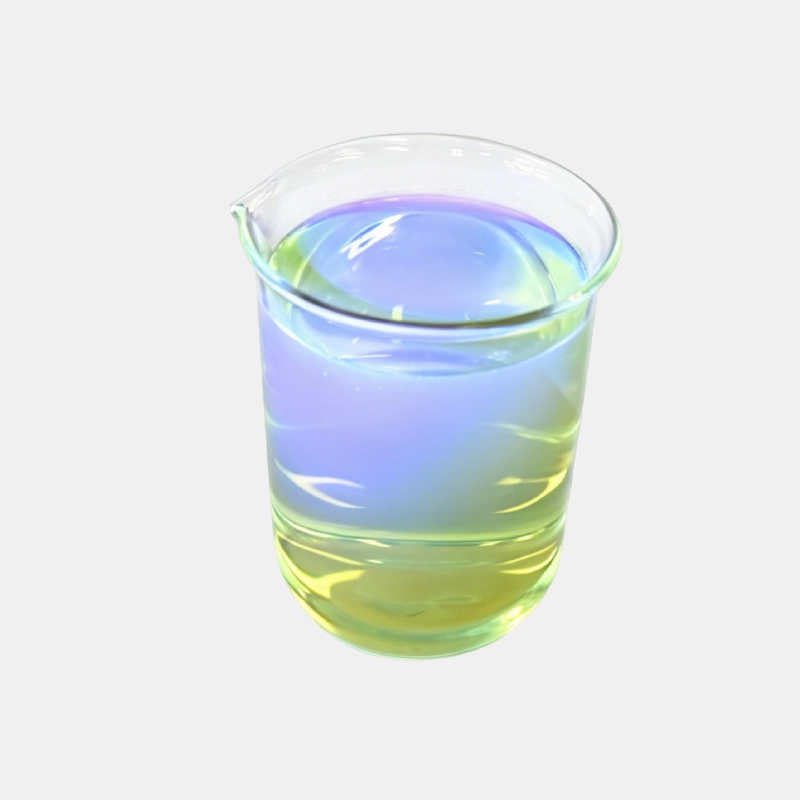
At its core, the process combines two elements: a tracer dye added to the system and a UV inspection light that excites the dye so it glows. Once illuminated, even very small leaks become visible as bright fluorescent traces, making the source easier to identify.
This method is especially useful when leaks occur in hard-to-reach or enclosed areas. It improves inspection speed, supports preventive maintenance, and reduces the chance of missing intermittent leaks that only appear under certain operating conditions.
How Does UV Leak Detection Work?
UV leak detection works by introducing a fluorescent dye into the fluid or refrigerant system, then scanning the system with ultraviolet light to locate where the dye has escaped. The dye remains mixed with the operating medium until a leak carries it out through a crack, seal failure, joint issue, or worn component.
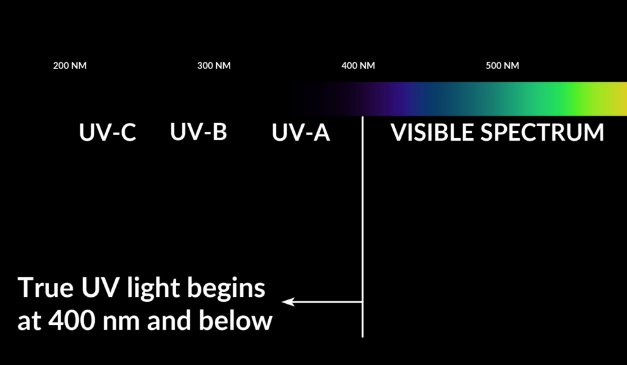
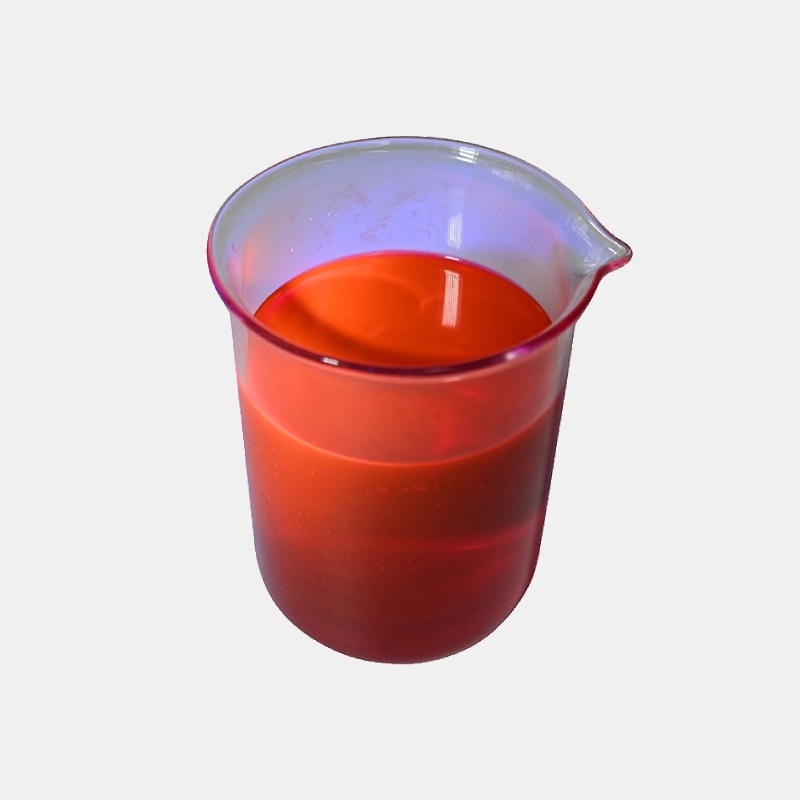
When the area is illuminated with UV light, the dye absorbs invisible ultraviolet energy and emits visible light, usually bright yellow, green, or orange depending on the dye formulation. That visible glow highlights the leak path and often shows the exact point of failure.
The basic process
-
Add the fluorescent tracer to the relevant system or fluid.
-
Run the system under normal operating conditions so the dye circulates fully.
-
Inspect with a UV inspection light in a dimmed or controlled-light environment.
-
Identify fluorescent residue at joints, seals, fittings, hoses, or components.
-
Confirm the leak source by following the glow to its origin.
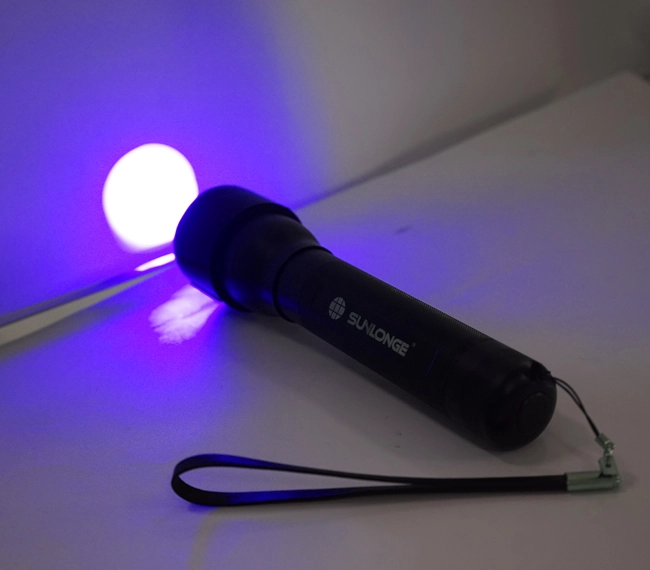
The success of the method depends on proper dye selection, sufficient circulation time, and the right inspection light intensity. For example, low-output lights may reveal obvious leaks, but a high-quality UV Leak Detection Light is often necessary for precise work, especially in larger facilities or bright environments.
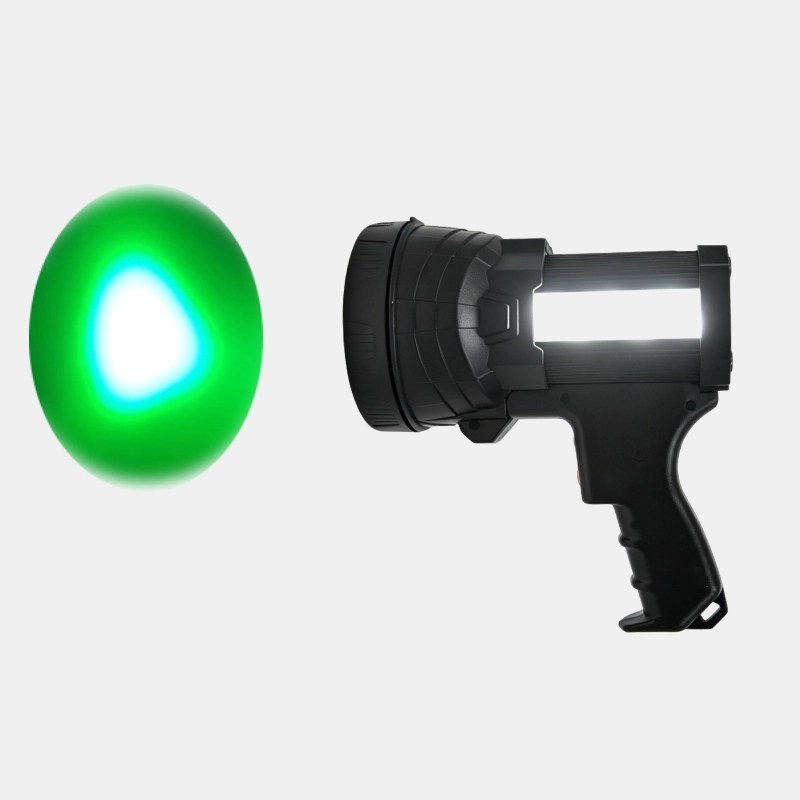
Why fluorescence is so effective
Fluorescence creates strong visual contrast. Instead of searching for a nearly invisible fluid trail, the technician sees a bright glow against a darkened background. That makes the inspection easier, faster, and less dependent on subjective judgment.
According to the U.S. Department of Energy, leak management is an important factor in improving energy efficiency and reducing operating losses in industrial systems: DOE industrial energy efficiency resources.
Where Is UV Light for Leak Detection Used?
UV light for leak detection is used wherever small leaks can create maintenance, safety, or performance problems. It is valued across many sectors because it helps identify leaks before they become major failures.
In many cases, the same method can be adapted to different media, including oils, fuels, coolants, hydraulic fluids, and refrigerants. The key is selecting a tracer that is compatible with the system and safe for the application.
Common applications
|
Industry
|
Typical leak targets
|
Why UV detection helps
|
|---|---|---|
|
HVAC and refrigeration
|
Refrigerant leaks, compressor seals, fittings
|
Quickly finds small leaks that affect efficiency and cooling performance
|
|
Automotive and transport
|
Engine oil, transmission fluid, coolant, AC refrigerant
|
Helps technicians isolate hard-to-see seepage and intermittent leaks
|
|
Manufacturing
|
Hydraulic systems, lubrication lines, process fluids
|
Reduces downtime and prevents contamination or equipment wear
|
|
Plumbing and facility maintenance
|
Pipe joints, hidden connections, drainage issues
|
Reveals leaks in concealed or low-visibility areas
|
|
Aerospace and precision equipment
|
Fluid lines, seals, service joints
|
Supports detailed inspections where accuracy is critical
|
In HVAC and refrigeration, fast leak location is especially important because refrigerant loss can reduce system performance and increase energy consumption. The U.S. Environmental Protection Agency offers guidance on refrigerant management and leak reduction here: EPA refrigerant management.
Why it is preferred in maintenance programs
UV inspection is often chosen because it is:
-
Fast for repeat inspections
-
Non-invasive compared with teardown methods
-
Accurate when used with the right dye and light
-
Cost-effective for preventive maintenance
-
Repeatable for ongoing condition monitoring
For facilities that handle multiple systems, this method can become part of a broader maintenance routine instead of a one-time troubleshooting tool.
What Equipment Do You Need for UV Leak Detection?
To perform UV light for leak detection effectively, you need more than just a flashlight. A proper setup usually includes a UV light source, compatible fluorescent dye, and basic inspection accessories that improve visibility and safety.
The exact equipment depends on the application, but most inspections require the following items.
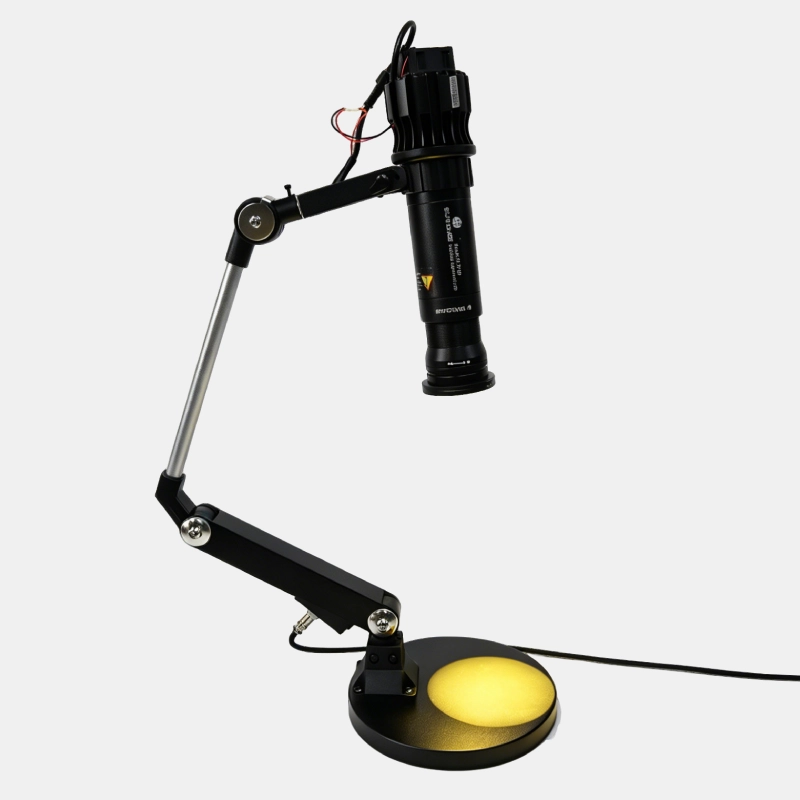
Essential equipment
|
Equipment
|
Purpose
|
Selection tip
|
|---|---|---|
|
UV inspection light
|
Excites the dye so leaks become visible
|
Choose sufficient UV output and beam control
|
|
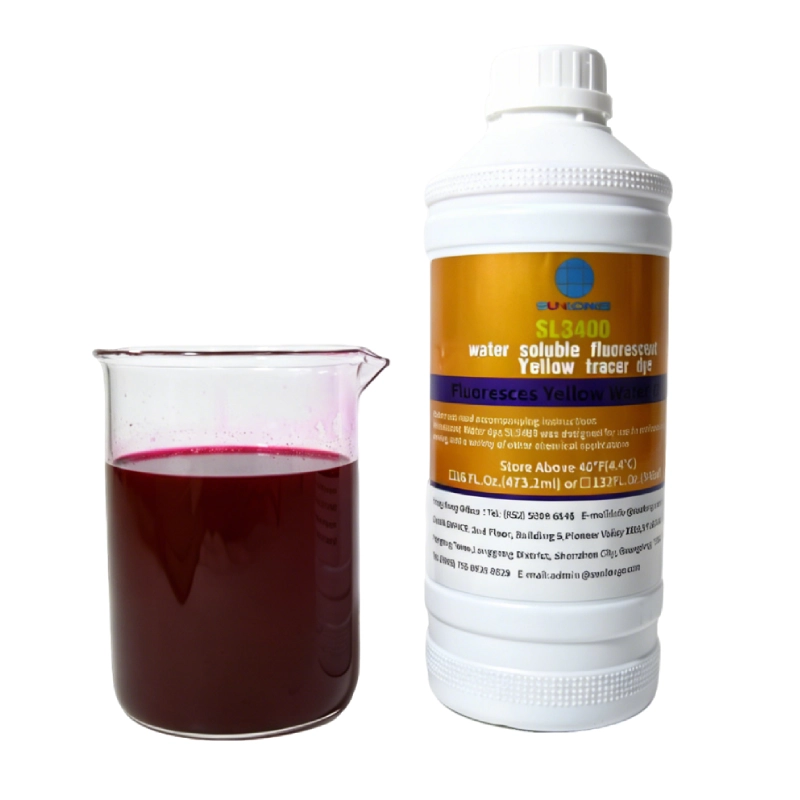
Fluorescent tracer dye
|
Carries fluorescence through the system
|
Ensure compatibility with the system fluid
|
|
Protective eyewear
|
Reduces glare and improves viewing comfort
|
Use eyewear rated for UV inspection
|
|
Cleaning materials
|
Removes old residue before testing
|
Helps avoid false positives
|
|
Inspection tools
|
Mirrors, markers, labels, or cameras
|
Useful for documenting leak locations
|
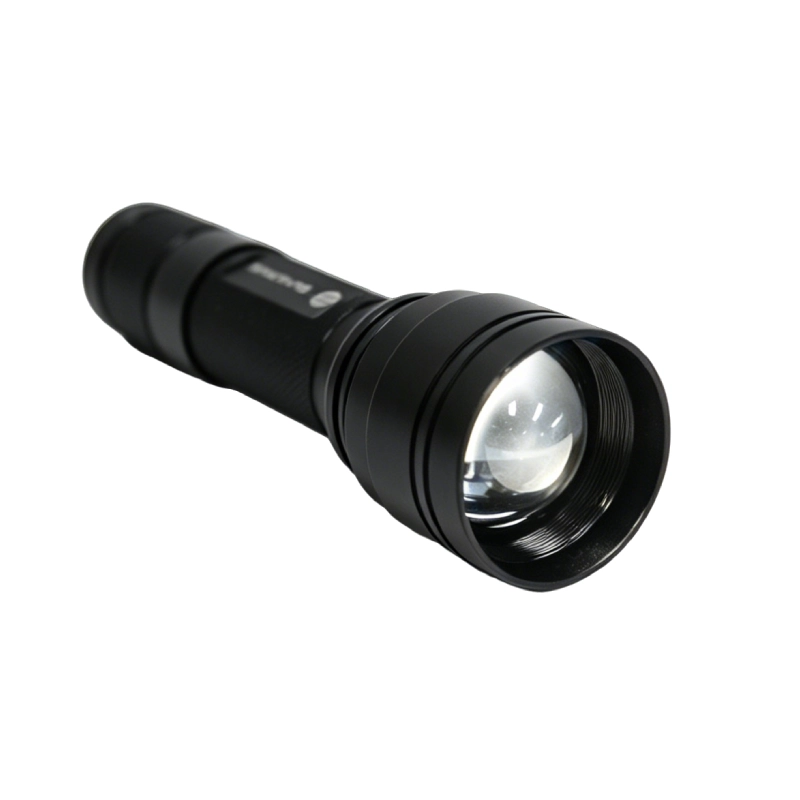
Choosing the right UV light
A strong inspection light should provide:
-
Stable UV output
-
Good beam coverage
-
Enough intensity for the working distance
-
Durability for industrial environments
-
Comfortable handling during extended inspections
If a light is too weak, fluorescent residue may be difficult to see, especially in large equipment rooms or areas with ambient light. If the beam is too broad without enough intensity, the technician may miss small leaks. In practice, the best tools balance power, portability, and beam control.
Choosing the right dye
Not all dyes work the same way. A suitable tracer should:
-
Be compatible with the fluid or system
-
Remain stable during operation
-
Produce strong fluorescence
-
Leave minimal residue
-
Be approved for the intended use
Always follow the manufacturer’s compatibility and dosage guidance. Overdosing can create staining or confusion, while underdosing can make the leak too faint to detect.
How Do You Perform a UV Leak Inspection Step by Step?
A UV leak inspection should be done in a controlled and methodical way to ensure reliable results. The aim is not just to find visible fluorescence, but to identify the actual source of the leak and document it properly.
Step 1: Prepare the system
Clean the area as much as possible before inspection. Old residue, oil film, dust, and dirt can mask new leaks or create misleading traces. If the system has existing contamination, note it before adding dye.
Step 2: Add the tracer dye
Introduce the fluorescent dye according to the application requirements. Ensure it circulates fully through the system so it can reach all possible leak points. In large or complex systems, circulation time may be needed before inspection.
Step 3: Run the system
Operate the system under normal or relevant working conditions. Many leaks only appear when pressure, vibration, heat, or flow is present. Testing under real operating conditions gives more reliable results than inspecting a dormant system.
Step 4: Dim the environment
A darker inspection environment makes fluorescence much easier to see. While some UV lights are designed for brighter areas, reducing ambient light always improves contrast and reduces eye strain.
Step 5: Scan methodically
Inspect the system in sections. Move slowly and focus on:
-
Fittings
-
Welds
-
Seals
-
Hoses
-
Gaskets
-
Valves
-
Joints
-
Housing edges
Look for glowing residue, streaks, splashes, or buildup. The brightest area is not always the source; follow the trace back to its origin.
Step 6: Verify and document
Once a leak is identified, verify it by checking the surrounding area and documenting the location, severity, and likely cause. Photos can help with maintenance records and repair planning.
Step 7: Repair and recheck
After repairs, clean the area if necessary and repeat the inspection to confirm that the leak has stopped. This final verification step is essential in quality-focused maintenance programs.
What Are the Best Practices for Accurate Leak Detection?
UV light for leak detection can be highly reliable, but only when used with proper technique. Small mistakes in preparation, lighting, or inspection method can lead to missed leaks or false readings.
Use the right ambient conditions
Fluorescent dye is easiest to see in low-light settings. If the inspection must happen in a bright area, use a light with enough intensity and consider shielding the area from ambient glare.
Let the tracer circulate fully
A common error is inspecting too soon after adding the dye. The tracer needs time to travel through the system and reach all potential failure points. Follow the recommended circulation period for the application.
Inspect systematically
Do not rely on random scanning. Work from one section to the next and inspect all likely failure points. This improves consistency and makes it easier to compare results over time.
Clean before and after testing
Residual contamination can make old leaks look active. Cleaning also prevents cross-contamination between inspections. In some facilities, proper housekeeping is as important as the inspection itself.
Control false positives
False positives can happen when dye residue is left from previous work or when spilled tracer is mistaken for a leak. To reduce this risk:
-
Clean surfaces before testing
-
Confirm the source path
-
Distinguish between splash patterns and active seepage
-
Reinspect after repairs
Keep records
Documenting leak location, repair date, and inspection results helps build a maintenance history. Over time, this can reveal recurring failure points and support root-cause analysis.
What Are the Advantages and Limitations of UV Leak Detection?
UV leak detection is valuable because it is practical, visible, and adaptable. However, like any method, it has limitations that should be understood before relying on it in a maintenance program.
Main advantages
-
High visibility: Fluorescence makes small leaks easier to see.
-
Speed: Technicians can inspect systems faster than with many teardown methods.
-
Accuracy: The glow helps pinpoint exact leak locations.
-
Versatility: Useful across many fluid-based applications.
-
Preventive value: Helps identify issues before they become failures.
Main limitations
|
Limitation
|
Impact
|
How to reduce it
|
|---|---|---|
|
Ambient light
|
Can reduce fluorescence visibility
|
Inspect in dimmer conditions
|
|
Incorrect dye choice
|
May affect compatibility or visibility
|
Match dye to the system fluid
|
|
Weak UV light
|
Makes small leaks harder to find
|
Use a suitable inspection light
|
|
Residual contamination
|
Can cause false positives
|
Clean the area before testing
|
|
Delayed circulation
|
Dye may not reach the leak point
|
Allow enough runtime before inspection
|
UV inspection is not always the only answer. In some cases, pressure testing, electronic sniffers, thermal imaging, or visual inspection may be used alongside it. The best maintenance programs choose the method that fits the system, the fluid, and the inspection goal.
How Can UV Leak Detection Improve Maintenance Efficiency?
UV leak detection improves maintenance efficiency by shortening troubleshooting time and reducing unnecessary disassembly. When technicians can locate the leak quickly, they spend less time guessing and more time repairing the actual problem.
This matters because leak-related losses are rarely isolated. A small leak can lead to lower system efficiency, higher operating costs, equipment degradation, and unplanned shutdowns. In production environments, faster detection also means less waste and fewer interruptions to workflow.
Operational benefits
-
Faster diagnosis
-
Lower labor costs
-
Less equipment downtime
-
Better repair accuracy
-
Improved preventive maintenance planning
-
Reduced risk of repeat failures
For example, if a facility uses UV inspections on a routine basis, it may catch a minor seal failure before it affects the whole system. That can prevent larger component damage and reduce the chance of emergency maintenance.
A better fit for condition-based maintenance
Many organizations are moving from reactive maintenance to condition-based maintenance. UV leak inspection fits well into that approach because it provides a visible, repeatable way to confirm system condition without invasive procedures.
When Should You Use UV Light for Leak Detection?
UV light for leak detection is most useful when you need fast, visual confirmation of a leak in a fluid-based system. It is especially effective when the leak is too small, too hidden, or too intermittent for standard visual inspection.
It is a strong choice when:
-
The leak source is hard to access
-
You need precise leak location
-
The system can safely accept a tracer dye
-
You want to minimize downtime
-
You need a repeatable preventive inspection method
It may be less suitable when the system cannot tolerate tracer additives, when contamination risk is unacceptable, or when the operating environment prevents meaningful UV visualization. In those cases, another diagnostic method may be more appropriate.
FAQ
Is UV leak detection safe for all systems?
No. The tracer dye must be compatible with the fluid, seals, and materials in the system. Always check application guidance before use.
How long does it take for the dye to show a leak?
It depends on system size, flow rate, pressure, and operating conditions. Some leaks appear quickly, while others require longer circulation time.
Can UV leak detection find very small leaks?
Yes. When the right dye and inspection light are used, UV methods can reveal tiny leaks that are difficult to detect with normal visual inspection.
UV leak detection remains one of the most practical ways to identify hidden fluid losses with speed and confidence. When paired with the right tracer, a properly selected inspection light, and a disciplined workflow, it can improve diagnostic accuracy and support more efficient maintenance across many industries.