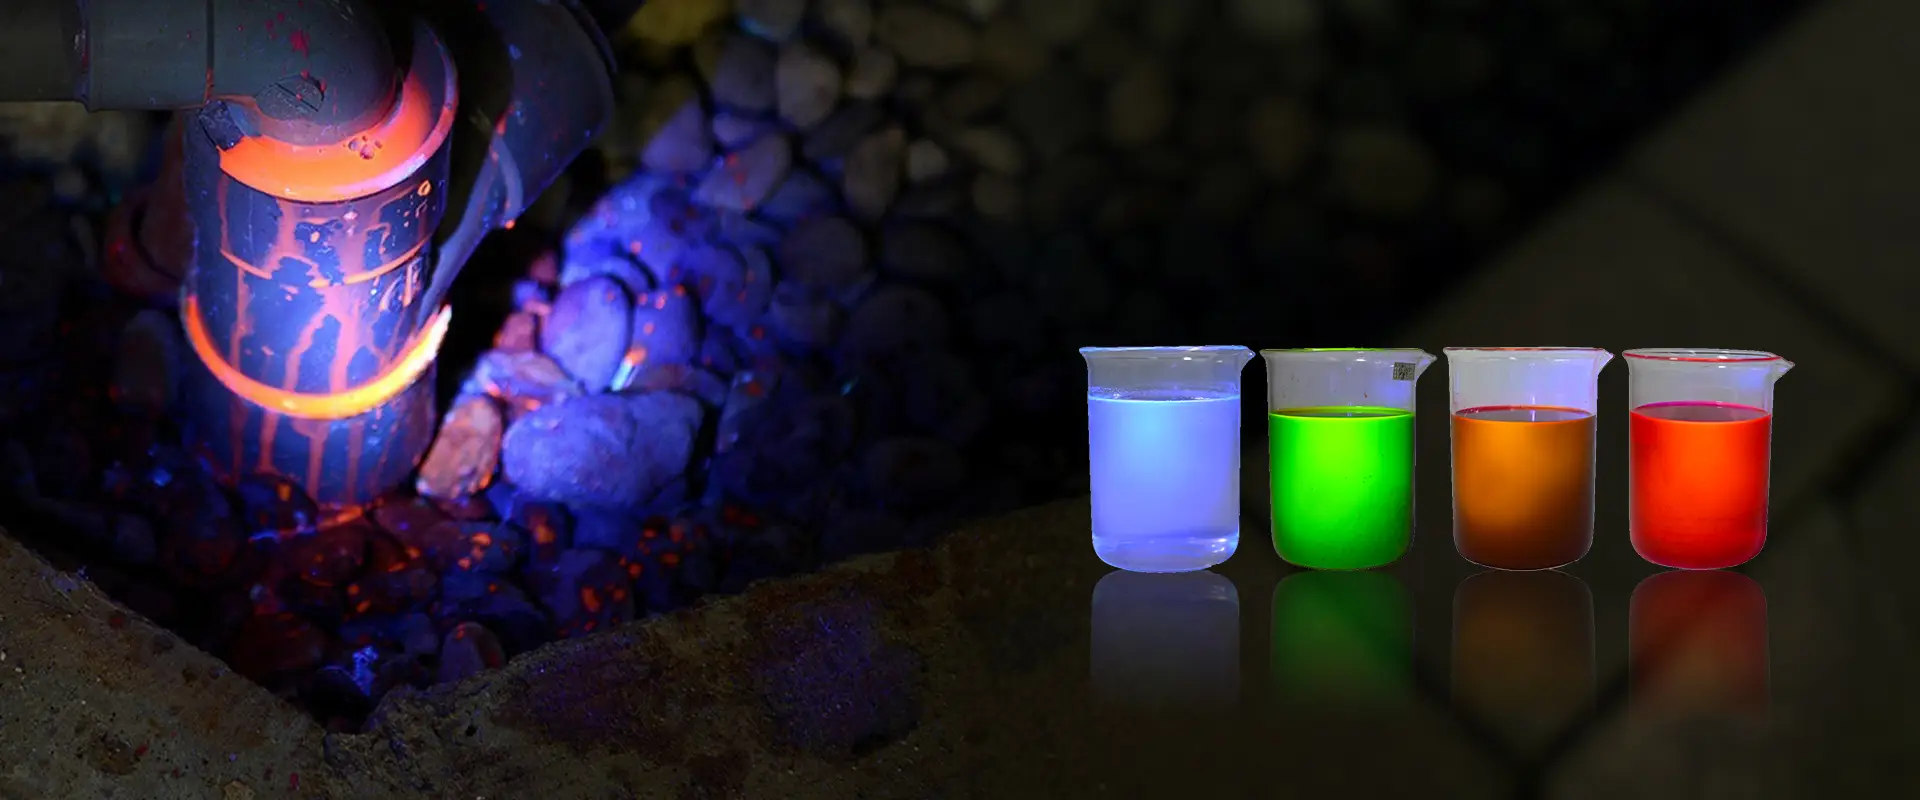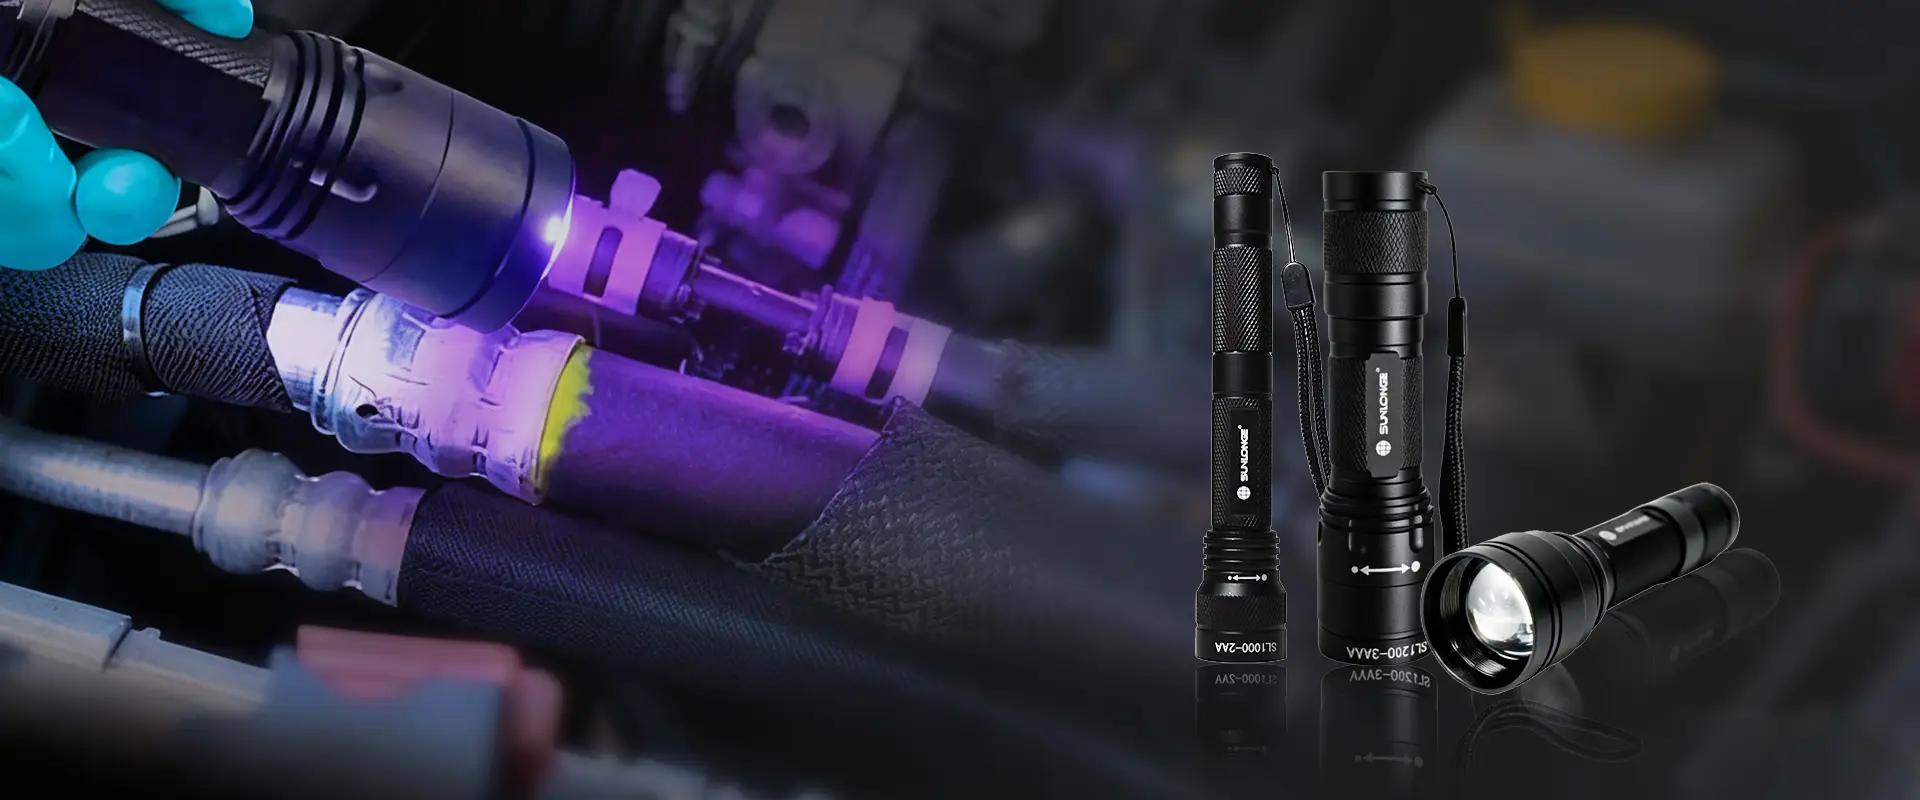
Swimming pool water loss is often dismissed as evaporation, splash-out, or normal use, but persistent water drop can quickly become a costly maintenance issue. A hidden leak may affect chemistry, strain equipment, and damage surrounding structures if it goes undetected for too long. For pool operators and service professionals, the real challenge is not just knowing that water is being lost, but finding the exact source efficiently.
The most practical way to pinpoint a leak is to use swimming pool leak detection dye near suspected problem areas and observe how the dye moves in the water. When applied correctly, the dye is drawn toward cracks, gaps, or faulty fittings, making the leak path visible and much easier to diagnose.
This guide explains how the dye works, when to use it, how to test properly, and how to interpret the results with confidence.
What Is Swimming Pool Leak Detection Dye?
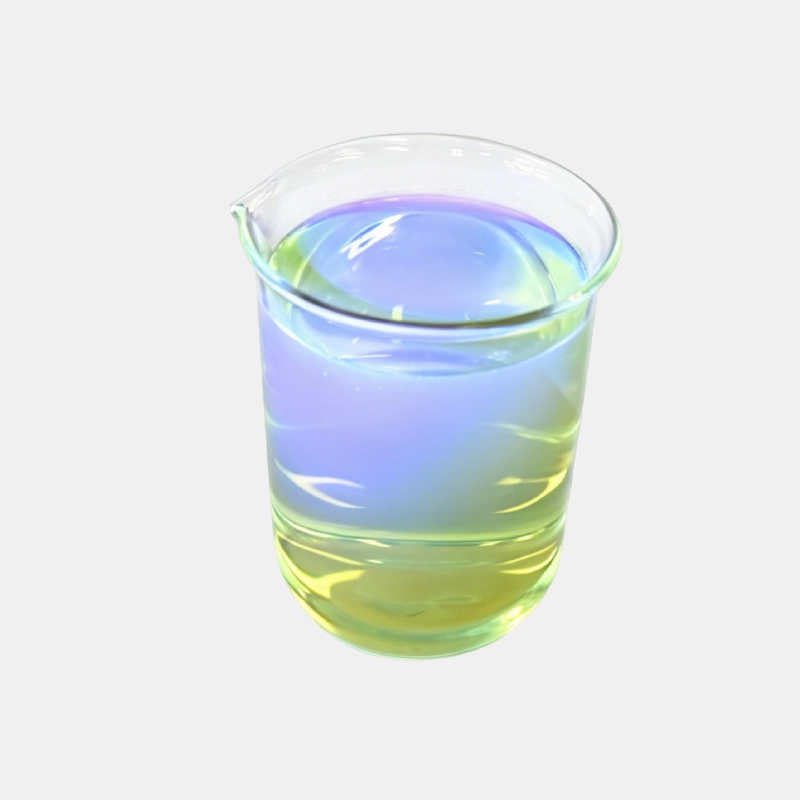
Swimming pool leak detection dye is a tracing fluid designed to help locate water leaks in pools by revealing the direction of water movement. When released near a suspected leak, the dye follows the current created by the pressure difference and is pulled toward the defect.
This method is popular because it is simple, affordable, and highly visual. Rather than tearing into pool surfaces or guessing based on water level alone, technicians can use the dye to narrow down the exact inspection point before making repairs.
How the dye works in water
Dye testing relies on fluid dynamics. If a crack, seam, or fitting is leaking, the surrounding water will move subtly toward that opening. A small amount of dye placed close to the area will follow that movement.
Common targets for dye testing include:
-
Hairline cracks in plaster, tile, or fiberglass
-
Skimmer throats and weir doors
-
Return fittings and light niches
-
Main drain edges
-
Steps, benches, and corners
-
Pipe penetrations and seal joints
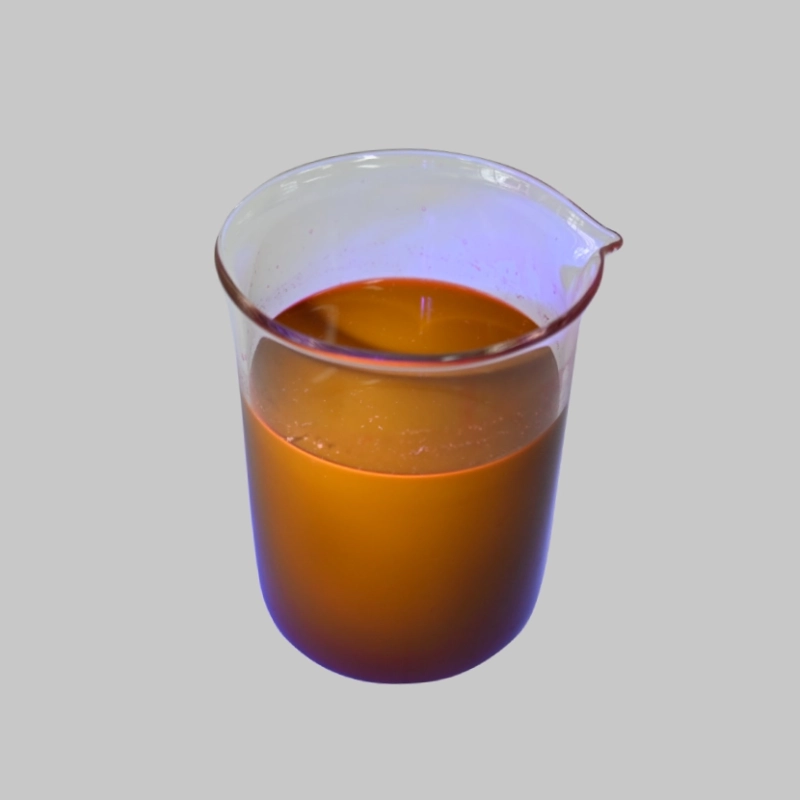
For products designed specifically for this type of inspection, see Leak Detection Dye for Swimming Pool.
Why technicians rely on it
Unlike visual inspection alone, dye testing can reveal leaks that are too small to create visible bubbling or obvious turbulence. It also helps avoid unnecessary repairs by showing which areas are not leaking.
According to the U.S. Environmental Protection Agency, leak detection is an important part of water conservation and system efficiency: EPA WaterSense. For pools, that means less wasted water, lower chemical consumption, and fewer follow-up service calls.
When Should You Use Leak Detection Dye in a Pool?
You should use swimming pool leak detection dye when water loss is higher than normal and the source is not immediately obvious. It is especially useful after checking for evaporation, splash-out, and operational causes that can mimic a leak.
Pool leaks rarely announce themselves clearly. Instead, they often show up as subtle symptoms that point to a deeper problem. Dye testing is the next step when basic explanations do not fit the pattern.
Signs that suggest a possible leak
Consider a dye test if you notice:
-
The water level drops faster than normal evaporation
-
Air enters the pump or suction line
-
The deck or soil near the pool stays wet
-
The pool loses more water after the system runs
-
Chemical levels change too quickly because of repeated refilling
-
Cracks or separations appear in the finish or tile line
If these symptoms show up together, the likelihood of a structural or fitting-related leak increases significantly.
Where the dye is most useful
Leak detection dye is best used in visible areas where water can be observed closely. These include:
|
Test Location
|
What You Are Checking
|
Why It Matters
|
|---|---|---|
|
Skimmer throat
|
Seal gaps and structural cracks
|
Common source of water loss
|
|
Return jet
|
Fitting seal integrity
|
Pressure and wear can cause leaks
|
|
Light niche
|
Gasket failure or conduit leaks
|
Often hidden behind the fixture
|
|
Main drain
|
Base cracks or separation
|
Difficult to inspect visually
|
|
Tile line
|
Hairline cracks and weak grout
|
Water can escape slowly over time
|
If the leak appears to be in broader water tracing or line identification work, a general tracer such as UV Dye can also be used in diagnostic applications beyond visible pool surfaces.
How Do You Prepare for a Pool Dye Test?
You prepare for a pool dye test by creating a stable water environment, stopping circulation if possible, and gathering the right tools before applying the dye. Calm water is essential because moving water can distort the test and send the dye in the wrong direction.
A good test begins before the dye is ever opened. If the surface is disturbed or the circulation system is active, the result may look like a leak even when none exists.
What you need before starting
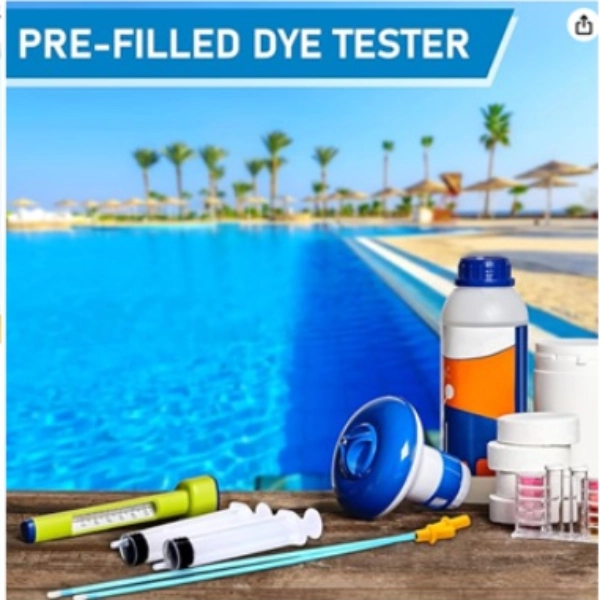
A basic inspection setup may include:
-
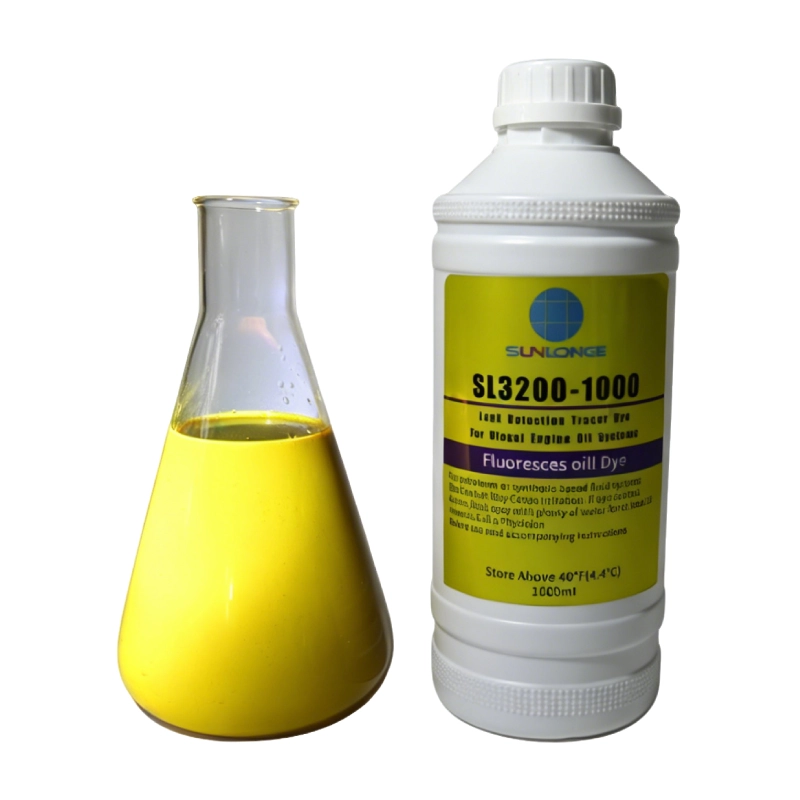
Leak detection dye in a squeeze bottle or syringe
-
Clean gloves
-
Towel or cloth
-
Flashlight for lower-light viewing
-
Notebook or phone for recording test points
Some technicians also use underwater viewing aids, especially when checking deeper areas or hard-to-see fittings.
Conditions for reliable results
To improve accuracy, follow these preparation steps:
-
Turn off pumps and water features when possible.
-
Allow the water surface to become completely still.
-
Approach the test point slowly.
-
Test one area at a time.
-
Use only a small amount of dye.
If wind, swimmers, or active return flow create too much water movement, wait for calmer conditions. A short delay often produces a much more reliable result.
How Do You Use Swimming Pool Leak Detection Dye Step by Step?
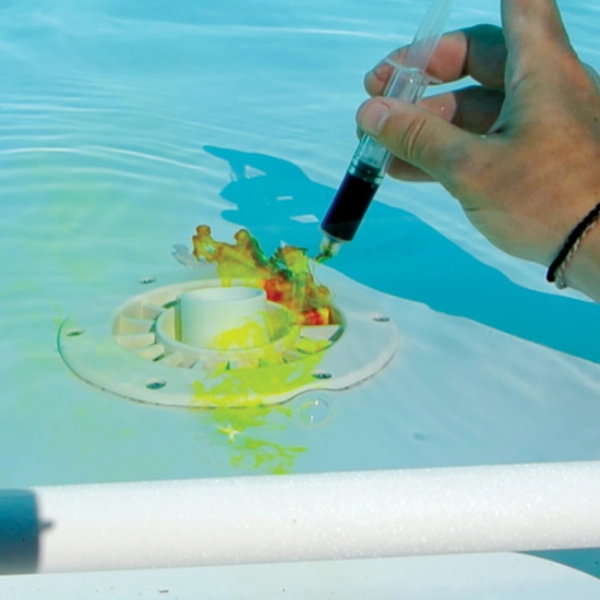
You use swimming pool leak detection dye by placing the applicator close to a suspected leak point, releasing a controlled amount of dye, and watching whether it is drawn into the opening. The process is simple, but precision matters.
The key is not to overwhelm the area with dye. You want a small, controlled release so you can clearly see whether the dye is being pulled by a leak.
Step 1: Choose the suspect area
Start with the most likely leak points based on visible damage, water level behavior, or recurring trouble spots. Focus on one area at a time so the result is easy to interpret.
Step 2: Position the applicator close to the surface
Hold the bottle or syringe just above the point being tested. The closer the applicator is to the surface, the more accurately the dye will reveal water movement.
Step 3: Release a small stream
Gently squeeze out a thin line or small cloud of dye. Do not spray aggressively or flood the area. A small amount is usually enough to show whether there is suction into a crack or gap.
Step 4: Observe the movement
Watch for these reactions:
-
Dye pulls directly into a crack or seam
-
Dye disappears toward a fitting
-
Dye drifts in one direction consistently
-
Dye remains stable and does not move
If the dye is clearly pulled inward, the leak point is likely present. If it simply disperses or stays still, the area may not be the source.
Step 5: Re-test adjacent points
Many leaks are small and spread over an area rather than occurring at one perfect point. Re-test around the initial location, including nearby seams, corners, and fittings, to confirm the source.
How to interpret the result
|
Dye Behavior
|
Likely Meaning
|
Recommended Action
|
|---|---|---|
|
Pulled inward quickly
|
Active leak at that point
|
Mark area for repair
|
|
Moves slowly toward the area
|
Weak or small leak
|
Retest and inspect closely
|
|
Disperses randomly
|
Too much water movement
|
Stop circulation and repeat
|
|
Remains motionless
|
No leak detected there
|
Move to the next point
|
What Are the Most Common Mistakes During Dye Testing?
The most common mistakes are testing under unstable water conditions, using too much dye, and assuming one test is enough to confirm the problem. These issues can create misleading results and waste time.
Even a good tracer will not perform well if the test environment is wrong. Accuracy depends on both the product and the method.
Testing with the circulation system on
When pumps are running, water movement can carry the dye away from the leak area. If possible, shut down circulation before testing. This is especially important when checking skimmers, returns, and small surface cracks.
Using too much dye
A large cloud of dye may look dramatic, but it makes the leak path harder to read. A controlled release is better because it allows you to see the direction of movement clearly.
Standing too far from the test point
If the applicator is too far away, the dye may disperse before reaching the defect. Work close to the surface and move slowly.
Skipping hidden leak points
Some of the most common leak sources are not obvious. Be sure to inspect:
-
Light niches
-
Fittings around returns
-
Corners and benches
-
Tile grout lines
-
Skimmer seams
In many cases, the visible problem is only the result of a deeper issue nearby.
How Does Leak Detection Dye Fit Into a Larger Troubleshooting Process?
Leak detection dye is usually the first visual diagnostic step in a broader leak investigation. It helps narrow the search area before technicians move on to repair, pressure testing, or more advanced tracing methods.
For service professionals, this saves time and reduces unnecessary labor. Instead of opening multiple areas or replacing parts based on assumptions, the dye test points the way to the likely failure point.
Using dye with other diagnostic tools
Dye testing works especially well when combined with other methods:
-
Water loss observation to confirm there is a real problem
-
Visual inspection to look for cracks or gaps
-
Dye testing to pinpoint the source
-
Pressure testing to check plumbing integrity
-
Repair verification to confirm the fix worked
This layered approach is more efficient than relying on one method alone.
Choosing the right tracer for the job
For visible pool leak tracing,Swimming Pool Leak Detection Dye is the most direct option. For broader flow tracing or water path identification, UV Dye may be more appropriate depending on the inspection environment.
What Should You Do After You Find the Leak?
After you find the leak, mark the location, document the result, and decide on the proper repair method based on the damage type. The dye test tells you where the problem is, but the repair plan depends on whether the issue is a crack, seal failure, or fitting defect.
A confirmed leak should not be ignored, even if it looks small. Over time, minor water loss can become a major maintenance issue.
Immediate next steps
Once the leak is identified, do the following:
-
Take a photo of the area
-
Shut down affected equipment if necessary
-
Clean the surface around the leak
-
Apply the appropriate repair method
-
Re-test after the repair to confirm the fix
Why verification matters
A repair is only successful if the leak stops. Retesting with dye confirms whether the water still moves toward the same point. If it does, further inspection is needed. If it does not, the repair is likely working.
For commercial properties, this verification step is especially important because repeat service visits are costly and can disrupt operations.
How Can B2B Teams Improve Leak Detection Efficiency?
B2B maintenance teams can improve efficiency by standardizing their dye-testing process, documenting results, and using the same diagnostic sequence across all pools. A repeatable method helps teams work faster and produce more consistent results.
The best teams do not treat leak detection as a guess-and-check task. They use a clear workflow that reduces uncertainty and supports better decision-making.
Best practices for service teams
-
Keep a dedicated dye test kit ready on service vehicles
-
Train staff to test one location at a time
-
Record findings with photos and notes
-
Combine dye testing with pressure or visual inspections when needed
-
Verify repairs before closing the job
A simple service workflow
|
Stage
|
Purpose
|
Outcome
|
|---|---|---|
|
Initial observation
|
Identify symptoms
|
Determine whether leak testing is needed
|
|
Dye inspection
|
Locate the source
|
Narrow down the failure point
|
|
Secondary diagnostics
|
Confirm the cause
|
Reduce false positives
|
|
Repair and verification
|
Fix and confirm
|
Ensure the issue is resolved
|
A standardized workflow improves customer trust and reduces the chance of repeat failures.
FAQ
Can swimming pool leak detection dye be used in both residential and commercial pools?
Yes. It is suitable for both residential and commercial inspections, especially when the goal is to locate a visible leak point around fittings, seams, or structural areas.
How long should I wait before reading the dye test?
You should observe the dye immediately after release. If the water is still, the direction of movement usually appears within seconds.
Will leak detection dye stain pool surfaces?
When used properly in small amounts, it is designed for diagnostic tracing rather than staining. However, it should still be applied carefully and according to product instructions.