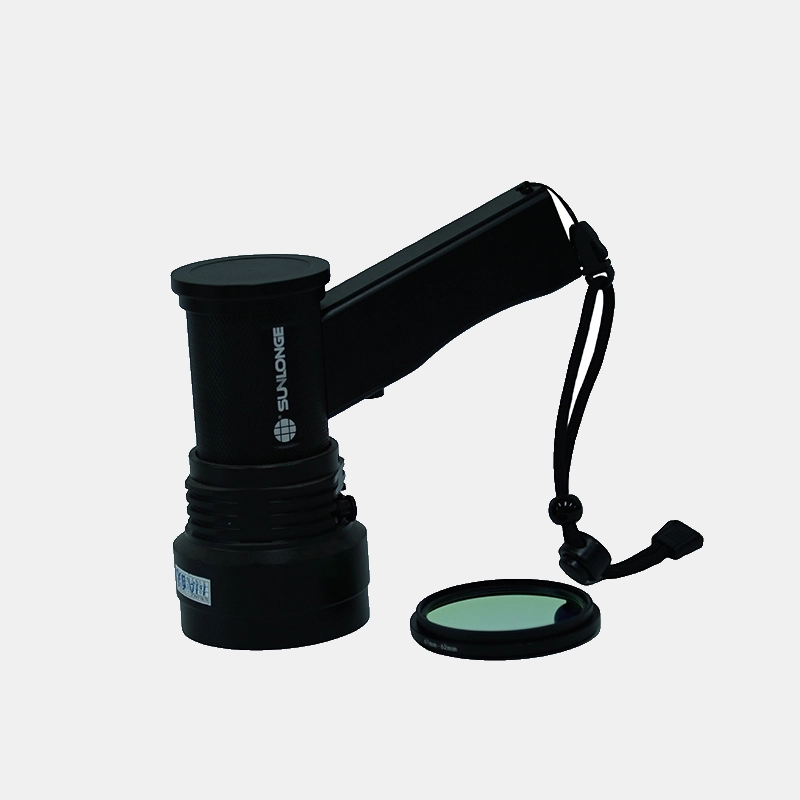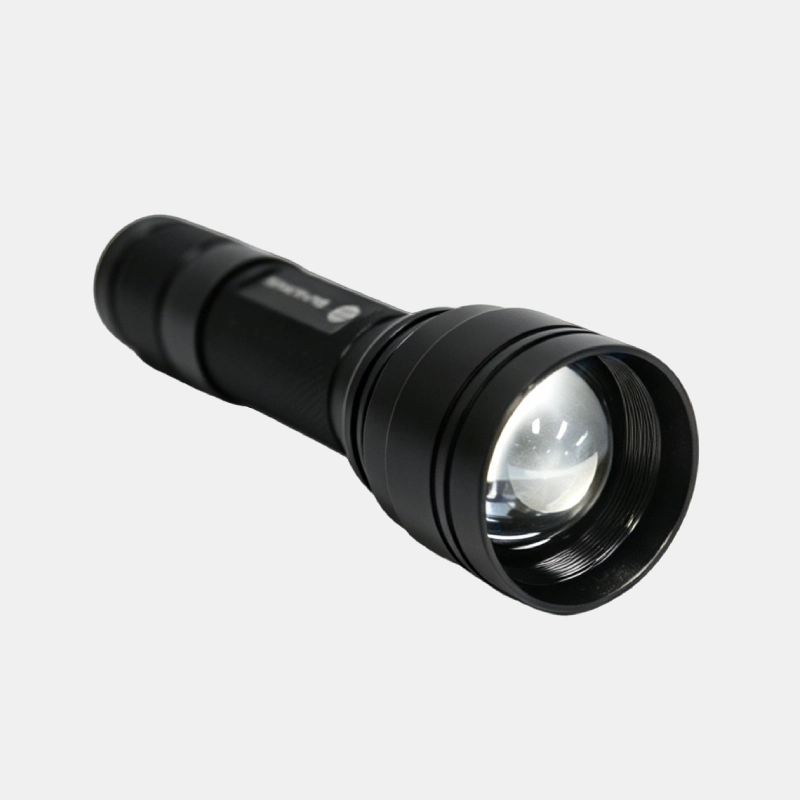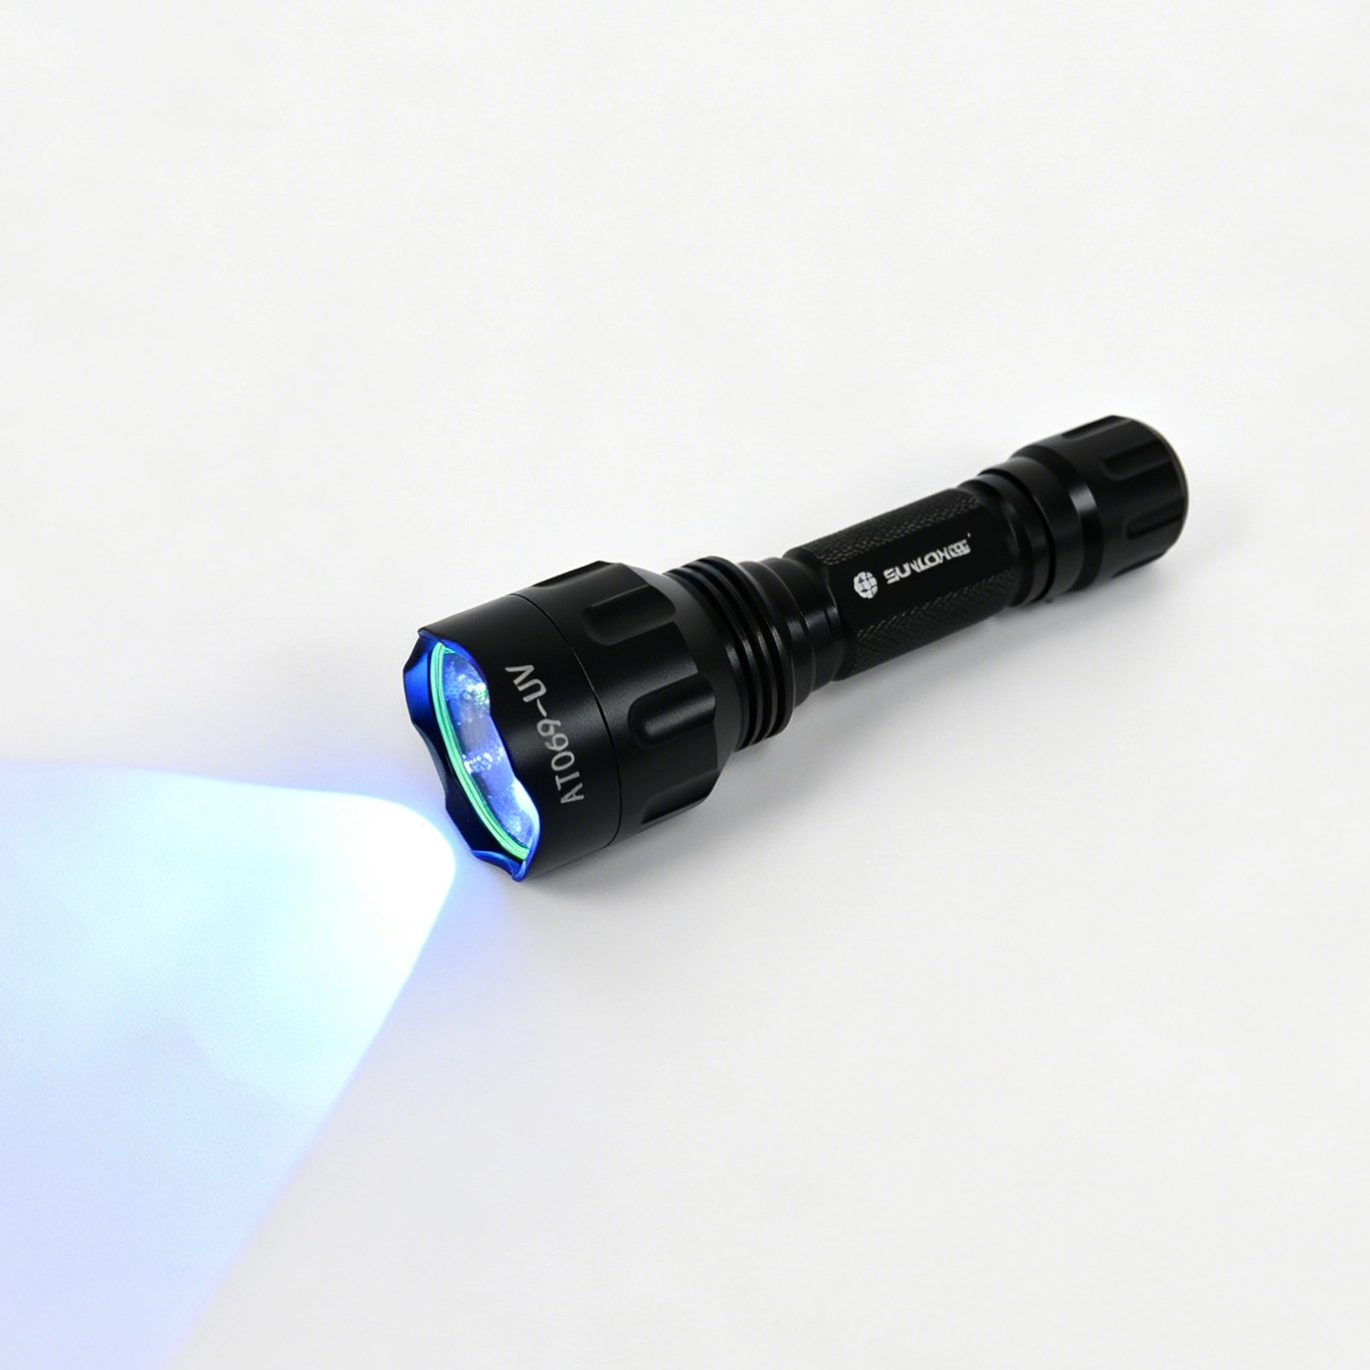
Hidden water leaks can waste thousands of gallons, damage equipment, and drive up maintenance costs before anyone notices a visible problem. In commercial buildings, cooling systems, plumbing networks, and closed-loop water circuits, leaks are especially difficult to detect because the source is often concealed behind walls, underground, or inside machinery.
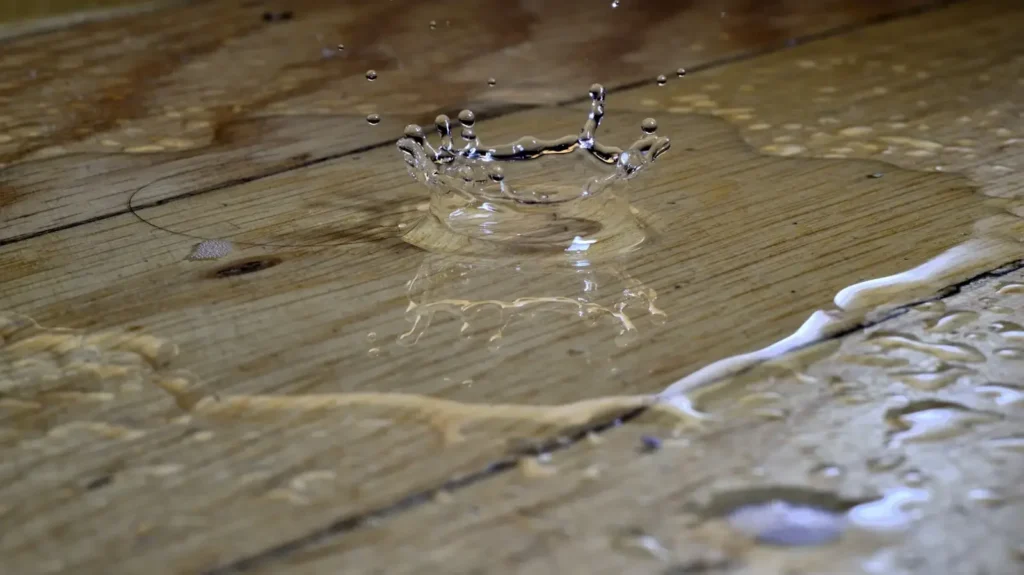
UV Dye for Water is one of the most practical tools for tracing leak paths because it can reveal where water is moving without requiring invasive inspection. When used correctly, fluorescent tracer dye makes leaks visible under ultraviolet light and helps maintenance teams pinpoint the source faster.
This guide explains how UV dye works, when to use it, and how to apply it step by step for accurate leak detection.
What Is UV Dye for Water and How Does It Work?
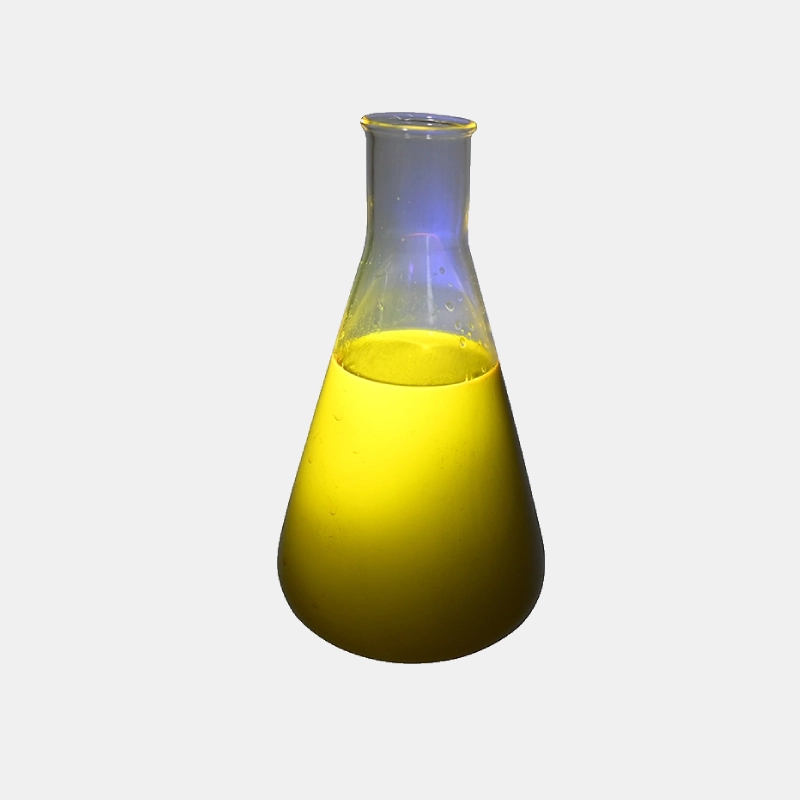
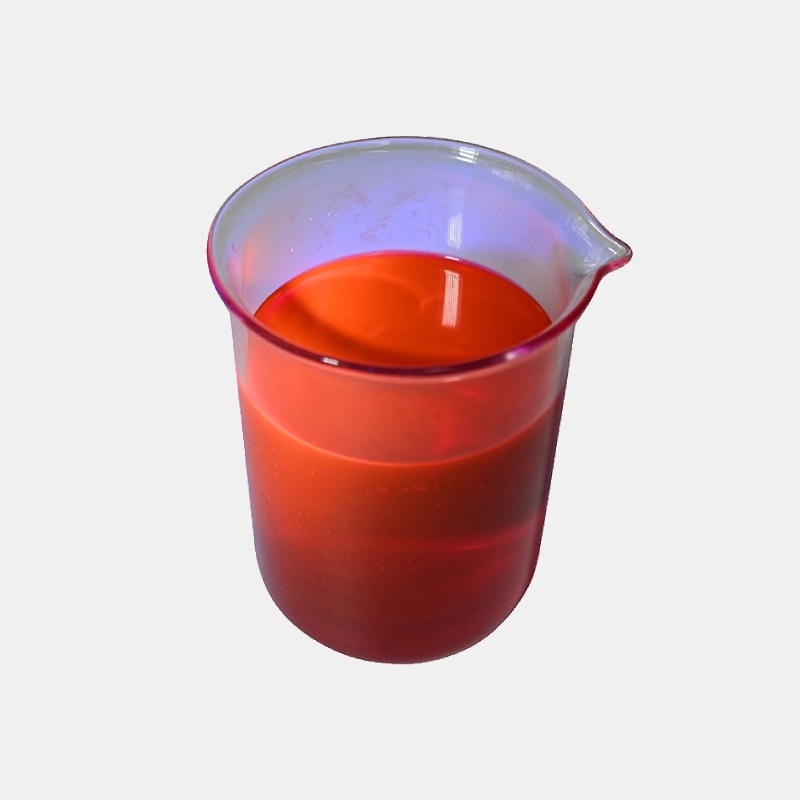
UV dye for water is a fluorescent tracer added to a water system so leaks can be identified by the dye’s visible glow under UV light. It is widely used in plumbing inspections, HVAC systems, cooling towers, tanks, and industrial water circuits.
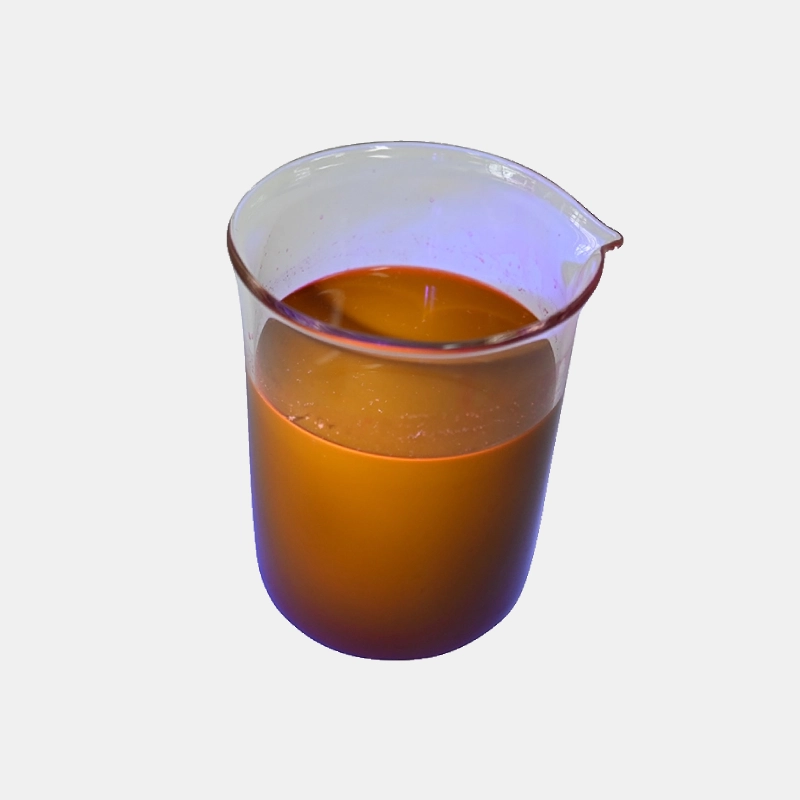
When introduced into circulating water, the dye travels with the flow. If there is a leak, seepage, or discharge point, the dyed water becomes easier to detect because it fluoresces when illuminated by a UV lamp. This makes it much easier to trace the leak’s path back to the source.
In many cases, technicians use UV Dye for Water in systems where accurate tracing is needed without adding excessive residue or affecting water performance. For applications requiring a clear visual indication, UV Dye can provide a strong fluorescent response while remaining suitable for diagnostic use.
Why fluorescence is so effective
UV tracer dyes work because they are highly visible at very low concentrations. That means you do not need to heavily dose the system to get a usable result. A small amount can often reveal:
-
Pinholes in pipes
-
Failing seals and gaskets
-
Cracks in tanks or housings
-
Joint failures
-
Cross-contamination between lines
-
Condensation-related drip points that mimic leaks
The key advantage is precision. Instead of guessing where water is escaping, the dye highlights the exact location of movement.
When Should You Use UV Dye to Find a Leak?
UV dye is best used when the leak is hidden, intermittent, or too small to locate with visual inspection alone. It is especially helpful in systems where shutdown time must be minimized and destructive testing is not practical.
For example, if a facility notices unexplained water loss, recurring damp spots, reduced system pressure, or staining around equipment, dye tracing can narrow the search area quickly. It is also useful when a leak appears only under certain operating conditions, such as pressure spikes or temperature changes.
Common use cases include:
-
Residential plumbing: hidden wall leaks, slab leaks, fixture seepage
-
HVAC and chillers: condensate issues, coil leaks, line tracing
-
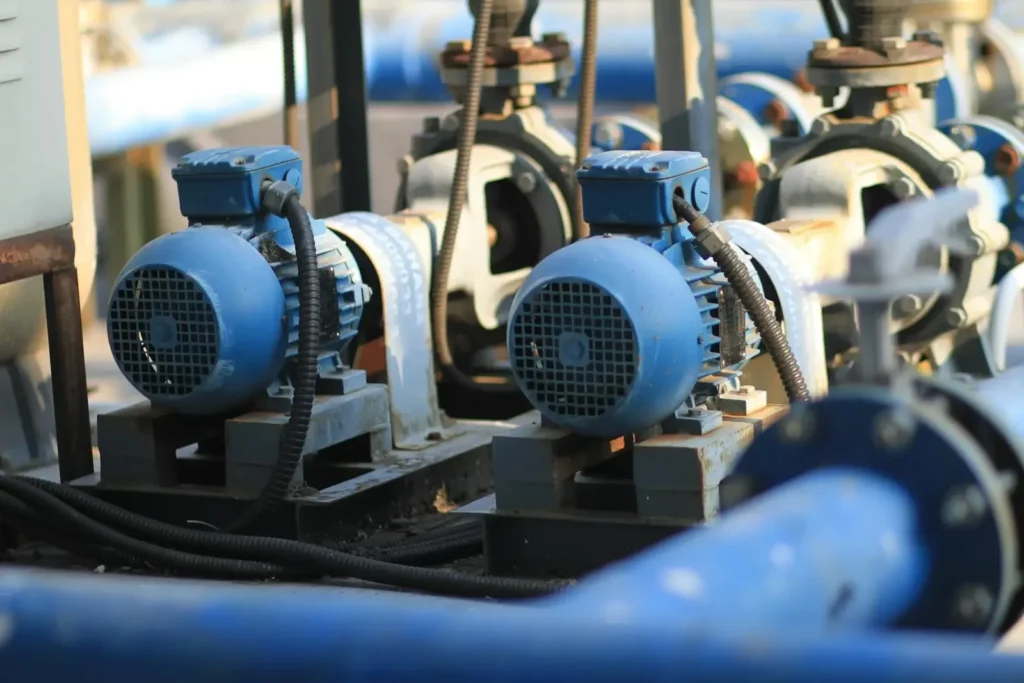
Industrial water systems: pump seals, tanks, heat exchangers, process lines
-
Cooling towers and closed loops: overflow paths, bypass leaks, evaporation vs. actual loss
-
Roof and envelope testing: identifying water ingress routes
If the leak is active but not obvious, dye tracing can reduce inspection time dramatically.
What Tools and Materials Do You Need?
You only need a few tools to perform a basic UV dye leak test, but using the right equipment improves accuracy and safety.
Essential equipment
|
Tool
|
Purpose
|
|---|---|
|
UV fluorescent dye
|
Traces water movement and highlights the leak path
|
|
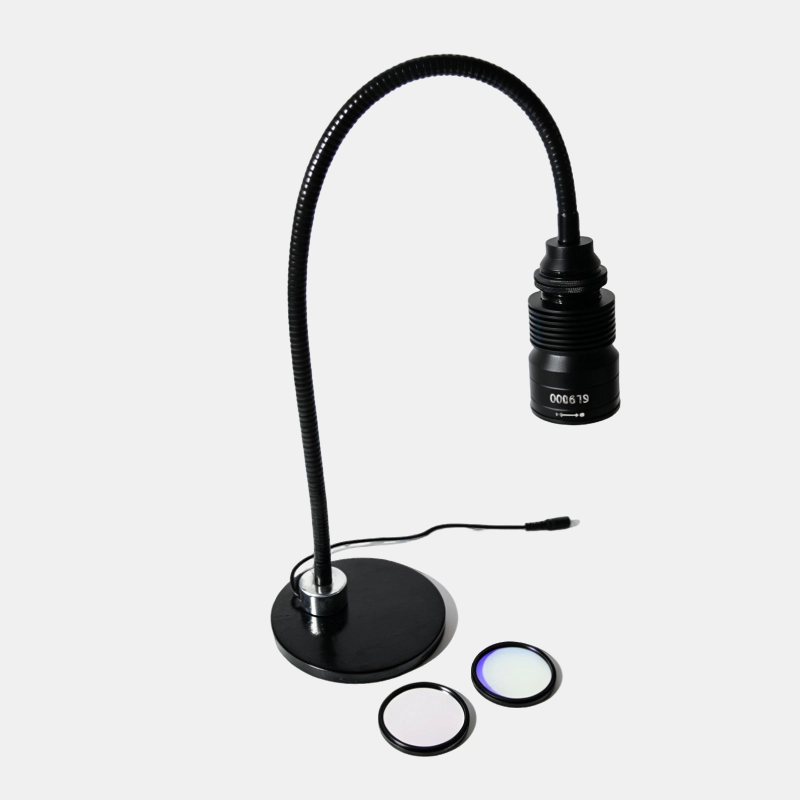
UV lamp or blacklight
|
Makes the dye visible
|
|
Protective gloves
|
Prevents contact with chemicals and contaminated water
|
|
Safety glasses
|
Protects eyes during inspection
|
|
Flashlight
|
Helps inspect non-fluorescent areas
|
|
Sample container
|
Useful if you need to test collected water
|
|
Cleaning cloths
|
Helps confirm whether residue is fresh or old
|
Optional but useful tools
-
Pressure gauge for monitoring system performance
-
Flow meter for tracking water loss
-
Inspection mirror for tight spaces
-
Camera for documenting fluorescent leak points
-
Absorbent pads for spotting seepage
Before you begin, confirm that the dye is compatible with your system and that it is intended for the specific type of water application you are testing.
How Do You Use UV Dye to Find a Water Leak?
The process is straightforward: introduce the dye, allow it to circulate, inspect the system under UV light, and then trace the brightest point back to the leak source. The exact method depends on whether the system is open, closed, pressurized, or intermittently operating.
Step 1: Identify the likely leak zone
Start by narrowing the problem area. Review signs such as:
-
Pressure loss
-
Wet spots
-
Scale or staining
-
Unexplained water consumption
-
Dripping during operation only
-
Mold, corrosion, or mineral deposits
The more accurately you define the suspected area, the faster the dye test will work.
Step 2: Prepare the system
If possible, clean obvious dirt, residue, or standing water from the inspection area. This makes the fluorescent signal easier to interpret. In some cases, shutting down nonessential equipment can improve visibility, but that is not always necessary.
If you are testing a pressurized line or closed loop, make sure the system is operating normally so the dye follows the real leak path.
Step 3: Add the dye at the correct concentration
Use the manufacturer-recommended dosage for your water volume and application type. Overdosing rarely improves results and can make interpretation messier. Under-dosing may make the leak harder to detect.
A good practice is to add the dye slowly and allow enough time for it to circulate fully through the system.
Step 4: Let the dye circulate
Give the dye time to mix and travel through the water circuit. This may take minutes in a small system or longer in a larger industrial loop. If flow is intermittent, observe the system during active operation so the dye has a chance to reach the leak point.
Step 5: Inspect with UV light
Darken the area as much as practical and scan the suspected locations with a UV lamp. Look for bright fluorescent traces, droplets, damp lines, or accumulation points. The glow often appears strongest at the exact point where water exits the system.
Step 6: Trace the signal back to the source
Once you find the dyed water, follow it upward, inward, or along the flow direction to identify the origin. In many cases, the leak source is a fitting, joint, gasket, seam, or crack located above the visible wet area.
Step 7: Confirm the leak and document it
Before repair, confirm the result by checking whether the fluorescent pattern remains consistent over time or during re-pressurization. Take photos and note the location, operating condition, and leak size. This helps maintenance teams prioritize repairs.
How Can You Improve Leak Detection Accuracy?
A successful dye test depends on good preparation, the right viewing conditions, and careful interpretation. Fluorescent dye is highly effective, but it is still possible to misread the results if the environment is cluttered or the test is rushed.
Control background contamination
Old residue, cleaning agents, or previously leaked water can produce misleading fluorescence or obscure the test area. Clean surfaces whenever possible before applying dye.
Test under normal operating conditions
Leak behavior often changes with pressure, temperature, and flow. If the system only leaks when running at full load, test it that way. If the problem occurs during drain cycles or cooling periods, replicate those conditions.
Use the right UV light
A suitable UV lamp improves visibility and reduces the chance of missing weak fluorescence. Work in lower ambient light when feasible, and scan slowly rather than rushing across the surface.
Watch for false positives
Not every glowing spot is a leak source. Fluorescent residue can migrate on surfaces or collect in low points. Look for:
-
Fresh wetness
-
Active drips
-
Directional streaking
-
A clear path from a higher source
-
Reappearance after system operation
The most reliable result comes from combining visual fluorescence with system behavior, not from a single glowing spot alone.
What Are the Best Practices for Safe and Effective Use?
UV dye leak testing is generally simple, but it should still be handled carefully, especially in industrial or potable-water-related environments.
Follow compatibility and safety guidance
Always confirm that the dye is suitable for the water system you are testing. Review product instructions, material compatibility, and any site-specific requirements before use.
For regulatory or environmental concerns, consult trusted references such as the U.S. Environmental Protection Agency for water quality considerations and the Occupational Safety and Health Administration for safe handling practices. These sources are useful starting points for general compliance and worker protection guidance.
Use the minimum effective amount
More dye does not mean better diagnostics. The goal is a visible signal, not a heavily colored system. Minimal effective dosing keeps the test cleaner and easier to interpret.
Protect sensitive components
If a system contains filters, sensors, membranes, or sensitive process equipment, verify that the dye will not interfere with operation or invalidate downstream treatment.
Record what you find
Good documentation helps with future maintenance. Note:
-
Date and time of test
-
System conditions
-
Dye type and dosage
-
UV light used
-
Leak location
-
Repair recommendation
This creates a useful diagnostic history for repeat issues.
How Does UV Dye Compare with Other Leak Detection Methods?
UV dye is one of the most efficient methods for many concealed water leaks because it is fast, visual, and relatively low-cost. However, it is not the only option, and in some cases it works best alongside other diagnostic tools.
|
Method
|
Strengths
|
Limitations
|
|---|---|---|
|
UV dye tracing
|
Fast visual confirmation, easy to use, good for hidden leaks
|
Requires UV light and circulation
|
|
Pressure testing
|
Good for confirming system integrity
|
Does not always reveal exact source
|
|
Acoustic detection
|
Useful for pressurized pipe leaks
|
Can be affected by background noise
|
|
Thermal imaging
|
Helpful for moisture mapping
|
Less precise for small or intermittent leaks
|
|
Visual inspection
|
Simple and immediate
|
Often misses concealed leaks
|
For many maintenance teams, dye tracing is the best first step because it quickly narrows the problem area. If the leak remains unclear, technicians can then combine dye results with pressure testing or thermal imaging for a deeper diagnosis.
What Mistakes Should You Avoid?
Several common mistakes can reduce the usefulness of UV dye testing.
Using too much dye
Excessive dye can create a clouded result and make it harder to identify the actual leak path.
Not allowing enough circulation time
If the dye has not fully distributed, you may inspect the wrong area too soon.
Testing the wrong operating condition
A leak that only appears under pressure will not show clearly in a static system.
Ignoring residue or contamination
Older fluorescent material can lead you away from the real source if the area has not been cleaned or checked carefully.
Failing to document findings
Without notes and photos, it is harder to confirm whether the repair solved the issue or whether the leak recurs later.
How Can UV Dye Help Save Time and Maintenance Costs?
UV dye helps reduce labor because it cuts down the time needed to locate concealed leaks. Instead of opening walls, dismantling equipment, or checking entire networks one section at a time, teams can trace the problem visually and focus repairs where they matter most.
That efficiency can translate into:
-
Lower labor costs
-
Less downtime
-
Reduced water waste
-
Faster repair decisions
-
Better preventive maintenance planning
In facilities where water loss affects production, this kind of targeted diagnosis can make a significant operational difference.
Final Thoughts
UV dye is a practical, accurate, and cost-effective way to find hidden water leaks in residential, commercial, and industrial systems. By adding a fluorescent tracer to the water, then inspecting the system with UV light, technicians can quickly reveal leak paths that would otherwise remain invisible.
Used correctly, UV dye for water can help maintenance teams identify the source faster, reduce unnecessary inspection time, and document problems more effectively. For the best results, choose the right dye, test under realistic conditions, and confirm the fluorescent trail before making repairs.
FAQ
Is UV dye safe for all water systems?
Not necessarily. The dye must match the system type and intended use. Always check compatibility for potable water, industrial loops, and sensitive equipment before application.
How long does UV dye stay visible?
Visibility depends on water flow, concentration, surface conditions, and ambient light. In active systems, fluorescence may be visible quickly; in stagnant areas, traces can remain until cleaned or flushed.
Can UV dye find very small leaks?
Yes. Because fluorescent dye is visible at low concentrations, it can help identify small seepage points, pinhole leaks, and intermittent drips that are hard to detect by sight alone.