Water pipe leaks often start small but can quickly cause huge losses. A pinhole leak in a water supply pipe can waste hundreds of gallons of water every day. Slow dripping water inside walls can go unnoticed for months, eventually leading to mold growth and five-figure repair costs. Property managers, facilities engineers, and plumbing contractors face this reality daily. The real challenge lies not only in finding the leak, but also in finding it quickly and preventing further damage. While there are many leak detection methods, their accuracy, cost, and the types of leaks they can detect vary greatly.
The best method for detecting leaks depends on the specific circumstances, but for most hidden leaks in piping systems, water pipes, and water supply infrastructure, ultraviolet fluorescent dye injection combined with high-intensity ultraviolet irradiation is currently the most reliable method. It accurately locates the leak source without guesswork, is suitable for various system types, and is significantly less expensive than non-destructive testing equipment or professional testing services.
This guide details the most common leak detection methods and their applicable scenarios. You’ll see direct comparisons between DIY methods and professional-grade tools, detailed step-by-step instructions for UV dye testing, and a decision-making framework to help you choose the right method for your specific problem. Whether you’re a facilities manager facing rising water bills, a plumber searching for leaks in your foundation, or a homeowner suspecting problems within your walls, this guide provides practical solutions.
Why is it that most people discover a leak too late?
In typical homes or businesses, leaks are often only noticed after they have caused obvious damage, wasted a lot of water, or led to secondary problems such as mold growth and structural decay. By the time you see stains on the ceiling or hear water running (even when all appliances are turned off), the leak may have been going on for weeks or even months.
The U.S. Environmental Protection Agency estimates that nearly one trillion gallons of water are wasted annually in the United States alone due to leaky homes. This figure covers a wide range of situations, from dripping faucets to burst water pipes. For commercial and industrial sites, the costs can accumulate rapidly. Leaks in cooling tower circuits, fire sprinkler systems, or underground irrigation trunk lines may go unnoticed until a staggering water bill arrives.
The problem is that water always flows along the path of least resistance. It seeps in through the gaps in the joists, behind the baseboards, and in the insulation layer before finally reaching the visible surface. By then, the water has already seeped through the drywall, soaked the subfloor, and created conditions for mold growth. Water stains, paint blistering, and warped flooring—these visible signs are merely the final symptoms of the problem; the root cause lies elsewhere.
Early detection has completely changed the game. Detecting leaks at the pinhole stage, rather than at the stage of structural damage, can reduce repair costs by 90% or more. This is why using the right methods is crucial.
Ultraviolet fluorescent dyes: the most reliable method for locating leaks.
Injection of ultraviolet fluorescent dye is the most effective method for locating leaks in pressurized and unpressurized systems because the dye flows with the water and emits a bright light under ultraviolet light, making even the smallest leaks visible to the naked eye.
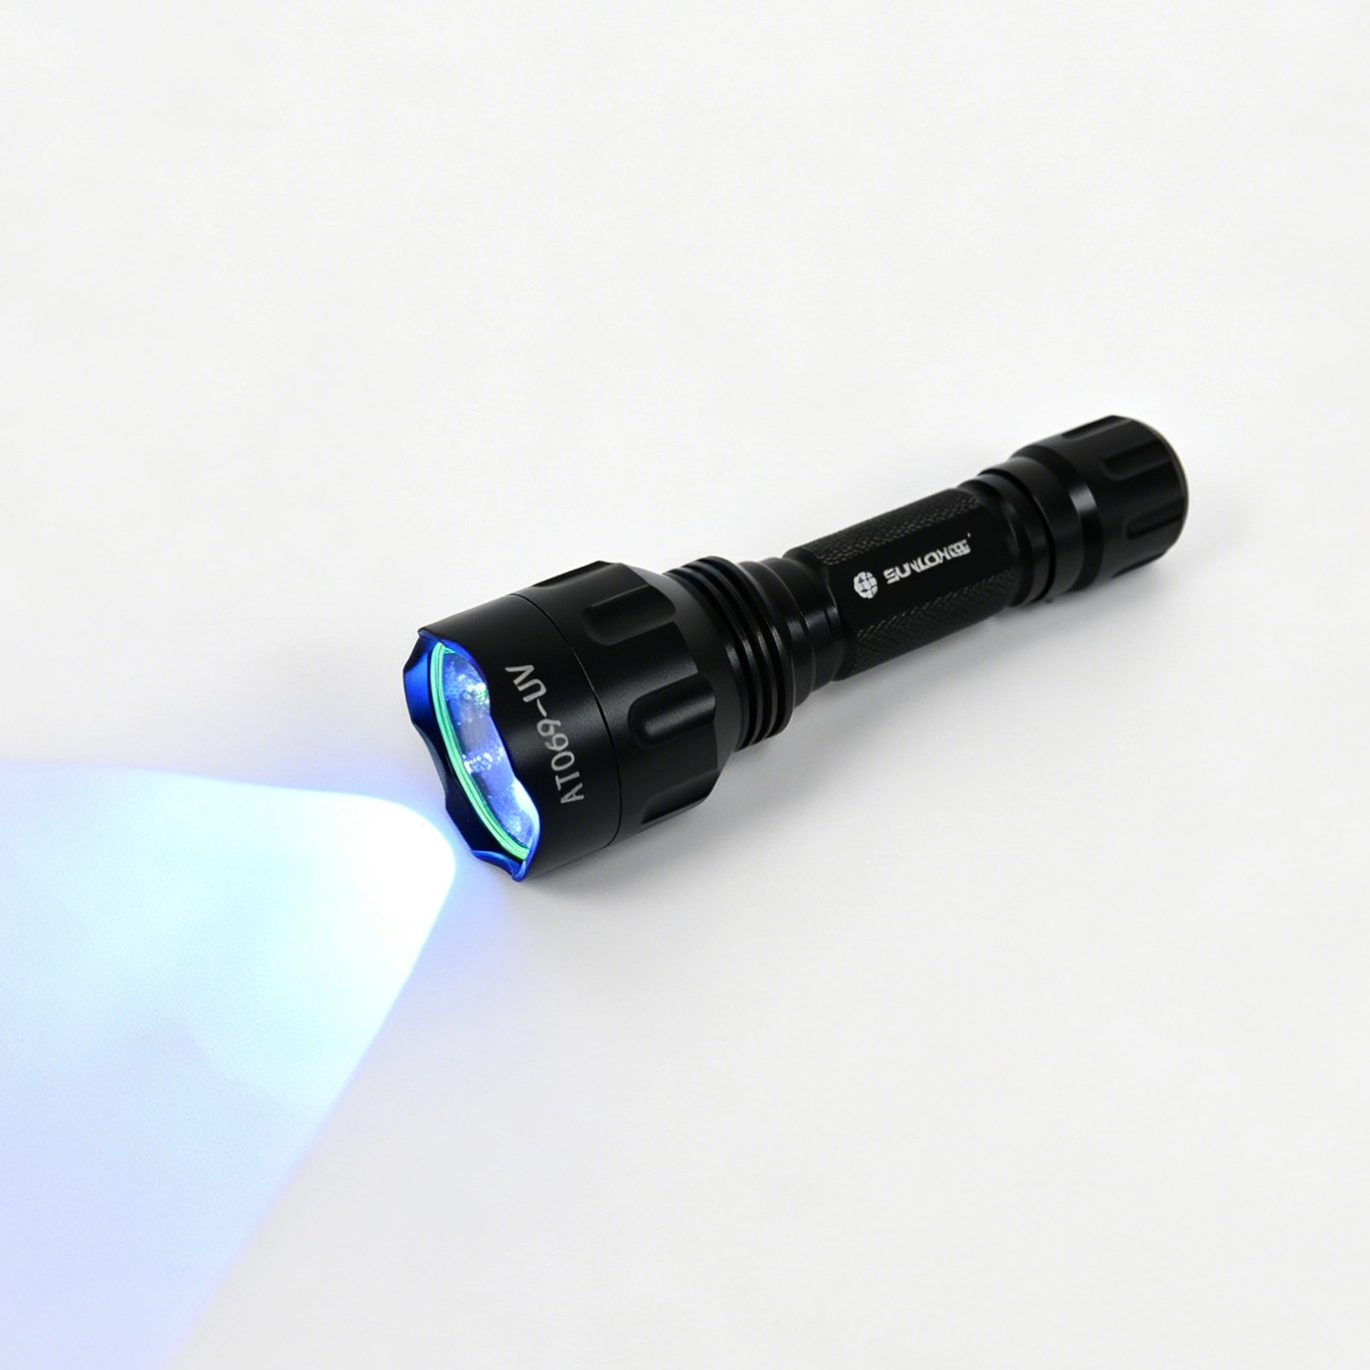
The principle is simple. A small amount of fluorescent dye is injected into an easily accessible point in the water system. As the water circulates through the system, the dye diffuses along the water’s flow path. Any leak, however small, will carry away a trace amount of dye. When the system is illuminated with an ultraviolet lamp (industry standard wavelength of 365 nanometers), the dye will emit a bright green or yellow fluorescence on the surrounding surface. The exact location of the leak will then be immediately apparent.
This method is applicable to a variety of systems, including drinking water pipelines, irrigation networks, swimming pools, hydraulic heating circulation systems, cooling towers, and wastewater systems. The dyes themselves are generally water-soluble, stain-free, and safe for use in drinking water systems when properly formulated. Manufacturers that supply UV fluorescent dyes offer formulations tailored to specific applications, ranging from HVAC systems to drinking water pipelines.
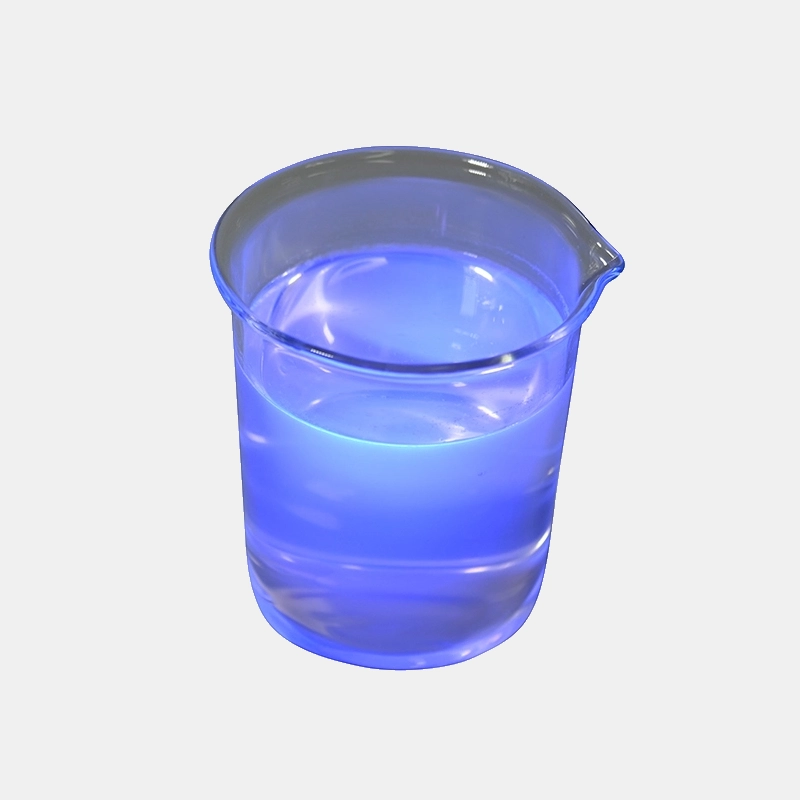
Compared to other methods, the advantage of UV dyes lies in their precision. Acoustic sensors can only roughly indicate the location of a leak. Pressure testing can only determine that a leak exists at a certain point. Thermal imaging can show temperature differences that may indicate a leak. UV dyes, however, can directly show the leak point itself. You only need to see the fluorescence. No interpretation, guesswork, or digging is required to confirm it.
The following section will detail the specific process, but the key point is that for hidden leaks in piping systems, ultraviolet dye is almost a foolproof method for detection. It is suitable for straight pipes, around fittings, joints, and inside threaded connections. For professionals and DIY enthusiasts, having a leak detection kit on hand can reduce leak finding time from a day to an hour.
Different dyes with different colors and formulations are required for different applications. Some dyes are designed for cold water, while others are suitable for hot water and hydraulic systems. Still others are formulated specifically for high-temperature industrial circulation systems. Water-soluble fluorescent tracer dyes remain colorless in water but fluoresce under ultraviolet light, which is very useful in applications where water quality cannot be significantly altered. Regardless of the specific type, the core principle remains the same, and reliability remains consistent across various application scenarios.
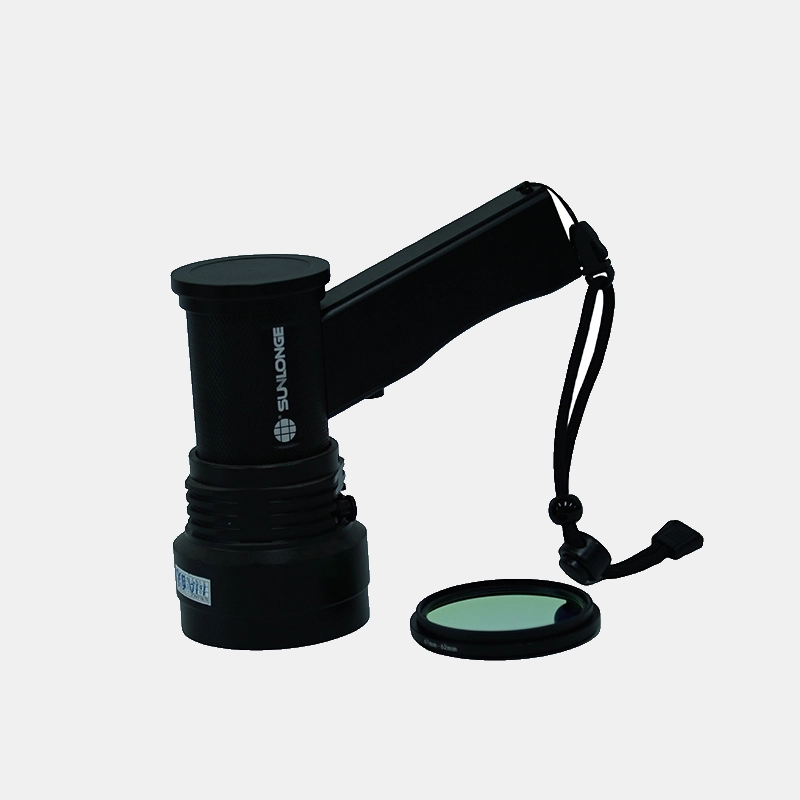
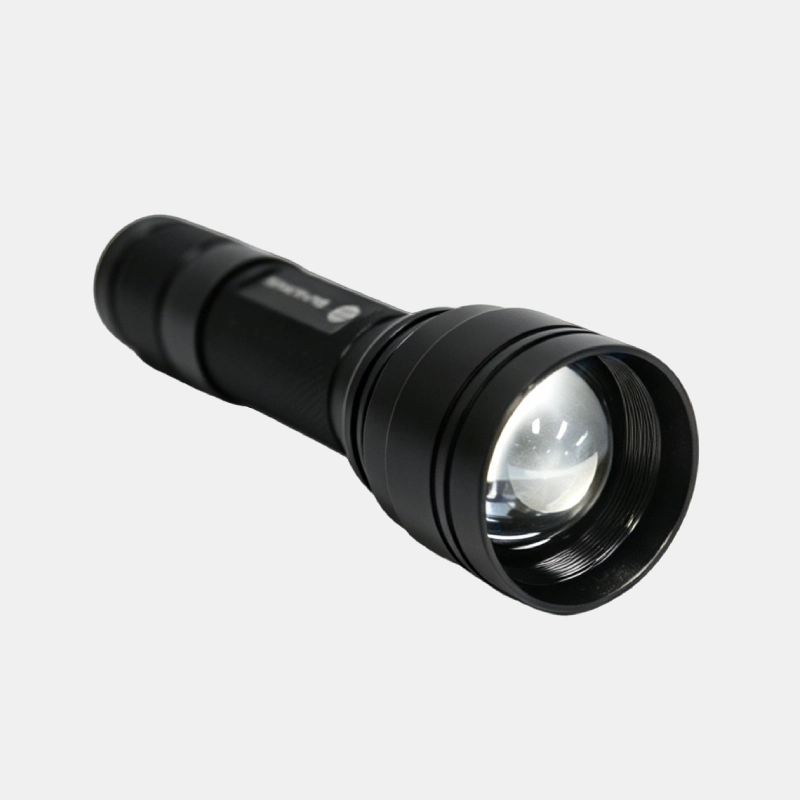
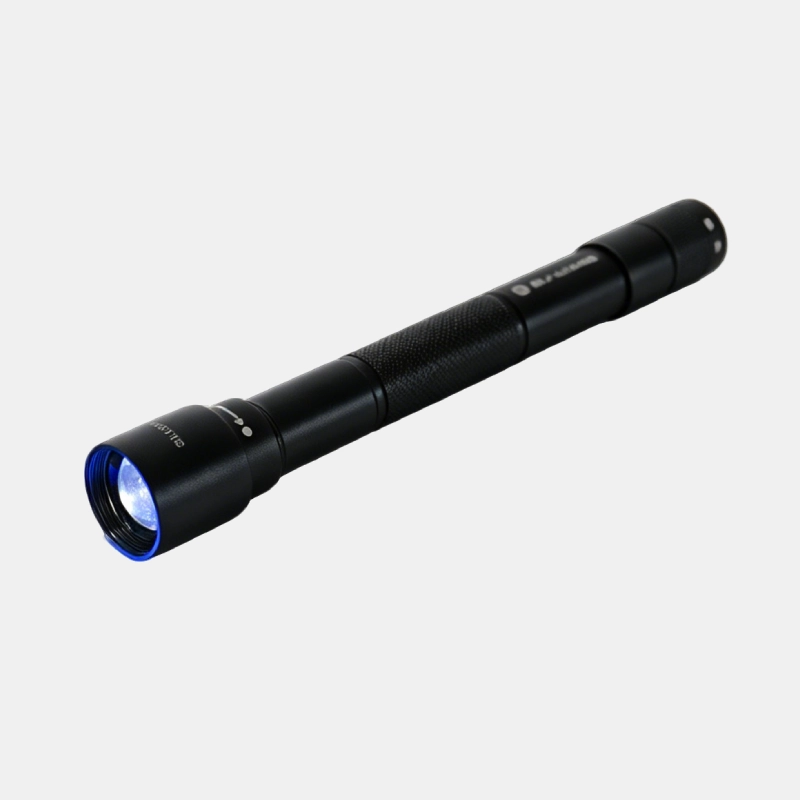
The required equipment is minimal: dye, syringe or injection port, and a UV-A leak detection lamp or flashlight with a wavelength of 365 nanometers . The total investment for a basic kit is only a fraction of the cost of a single professional inspection. Moreover, this kit can be used for many years.
Visual inspection: Where to look and what will actually be found?
Visual inspection is the lowest-cost leak detection method and the first step anyone should take, but it is only suitable for situations where the leak is already visible or the system shows obvious signs of failure and the components are easily repairable. Most hidden leaks cannot be detected by this method.
First, check the water meter. Turn off all water-using appliances and devices in the building. Check the water meter. If the meter is still spinning or the leak indicator is moving, there is a leak somewhere in the water supply system. While this doesn’t pinpoint the exact location of the leak, it confirms the problem. This alone is valuable.
Next, inspect visible pipes, electrical connections, and mounting bases. Pay particular attention to the following:
- Corrosion or mineral deposits around fittings and connectors
- Discoloration on drywall, ceiling tiles, or baseboards
- A musty smell indicates dampness.
- The floor near the water pipes is warped or buckled.
- Unusually lush or verdant grass has appeared above the subway line.
This method is highly effective for detecting leaks in visible pipe areas , especially if the leak is located on or near the surface. Toilet tank shut-off valves, faucet cartridges, and hose connections are the most common sources of leaks and can be easily inspected with just your eyes and hands, requiring no tools.
Visual inspections have limitations when it comes to inside walls, under concrete slabs, inside buried pipes, and in mechanical manholes. By the time leaks in hidden locations become visible through ceiling stains or damp carpets, the water has already spread from its source. Visible damage may be ten feet away from the actual leak. This is where visual inspections can be misleading. You patch the stains, but the leak continues.
For surface inspection, visual inspection is the quickest and most economical method. However, for any hidden object, a technique that does not rely on visible signs is needed.
Acoustic sensors and electronic leakage detection
Acoustic leak detection uses a sensitive microphone or ground microphone to amplify the sound of water leaking from a pressurized pipe. It works best for metal pipes in quiet environments because the leak noise is not masked by ambient noise or water turbulence.
When water leaks from a pressurized pipe, it makes a hissing or whistling sound that travels along the pipe walls and through the surrounding soil or building materials. Acoustic sensors can detect these sounds, helping operators pinpoint the location of the loudest noise, which is usually the leak. Modern electronic correlators use two sensors placed at known distances along the pipe. They measure the time delay between the sound reaching the two sensors and use mathematical methods to calculate the location of the leak.
This method is widely used by professional leak detection service companies, especially for detecting leaks in underground water supply pipes and concrete slabs. The equipment is expensive; a professional-grade leak detector or stethoscope typically costs thousands of dollars. Furthermore, training is required to correctly interpret the signals. Background noise from traffic, HVAC equipment, or flowing water can completely mask the sound of a leak. Plastic pipes transmit sound less effectively than metal pipes, which reduces the accuracy of acoustic methods in modern PEX or PVC piping systems.
For large commercial or municipal water supply systems, acoustic testing remains the standard method because it can detect long stretches of pipe without excavation. However, for detached houses or small commercial buildings, hiring a professional acoustic testing service is typically more expensive than using other, simpler testing methods.
Thermal imagers are sometimes used in conjunction with acoustic methods. The thermal properties of damp materials differ from those of dry materials, and thermal imagers can sometimes reveal the temperature characteristics of moisture behind walls or under floors. However, thermal imaging also has its limitations. It is only effective when there is a temperature difference between the water and the surrounding materials. In temperature-stable indoor spaces, the temperature difference may be too small to detect. Furthermore, thermal imaging can only show the location of water seepage, not necessarily the source of the leak.
Gas tracing is another specialized method. A tracer gas (usually a mixture of hydrogen and nitrogen) is injected into an empty or partially emptied pipe. The gas escapes at the leak point and is then detected by a sensitive gas detector on the ground. This method is highly accurate but also the most expensive and time-consuming. It is typically used for high-value leaks where excavation costs are extremely high or other methods have failed.
For specialized applications such as swimming pool leak detection , dye injection is generally preferred over acoustic methods because swimming pool equipment and circulation pumps generate excessive background noise, which is detrimental to obtaining reliable acoustic readings.
Smart Leak Detector for Continuous Monitoring
Smart leak detectors are electronic sensors placed at known risk points. They sound an alarm when moisture is detected, making them the best choice for early detection of leaks in specific, easily accessible locations such as under sinks, behind appliances, and in server rooms.
These devices can be broadly categorized into three types:
| Type | How It Works | Best For | Typical Cost |
|---|---|---|---|
| Spot detectors | Two metal contacts trigger an alarm when water bridges them | Under dishwashers, washing machines, water heaters | $20–$50 per sensor |
| Flow monitors | Clamp-on or inline sensors measure flow rate and detect anomalies | Main water line, whole-building monitoring | $100–$400 |
| Cable sensors | A two-wire cable senses moisture along its entire length | Data centers, boiler rooms, server rooms | $50–$200 per cable segment |
The most common type is the point leak detector. Simply place one under each potential leak point, and when the sensor gets wet, it sends a notification to your phone via a hub or Wi-Fi connection. Some models also come with an electric ball valve that automatically shuts off the water supply.
Flow monitors are even more sophisticated. They are installed on the main water supply line and use machine learning to learn normal water usage patterns. If the system detects continuous water flow even when no water is being used, it will sound an alarm. Some high-end models can even distinguish between a leaking toilet tank shut-off valve (intermittent, low flow) and a burst pipe (continuous, high flow) and adjust their response accordingly.
The limitation of smart sensors lies in their coverage. Point detectors can only protect the area they are in. If a leak occurs in a wall cavity, underground pipe, or unfinished basement, no sensor will be able to detect it unless the water flows far enough to reach the detection point. To achieve whole-house protection, dozens of point sensors would need to be installed at every possible leak point, which is not only costly but also still cannot protect hidden areas.
Smart sensors are best used in conjunction with other methods. They can be used for continuous monitoring of known risk points, while for leaks that have already occurred, ultraviolet dyes or specialized methods should be relied upon for location.
Self-testing or professional testing: Decision framework
Whether to perform self-testing or seek professional services depends on the location of the leak, your access to the system, the comparison between equipment costs and service fees, and your tolerance for the time spent on repeated testing and diagnosis.
The table below lists the correspondence between common scenarios and recommendation methods:
| Scenario | Recommended Method | DIY Feasibility | Estimated Cost Range |
|---|---|---|---|
| Visible dripping faucet or fixture | Visual inspection + replacement | High | $5–$30 for a washer or cartridge |
| Rising water bill, no visible leak | Water meter check + UV dye test | Moderate | $30–$100 for a UV dye kit |
| Leak inside a wall | UV dye injection + UV light | Moderate | $50–$150 for dye + light |
| Underground water main | Acoustic correlator or gas tracing | Low (rental possible) | $300–$1,500 for professional service |
| Slab leak in concrete floor | Acoustic or pressure testing | Low | $500–$2,000 for professional service |
| Swimming pool leak | UV dye injection | High | $20–$50 for pool dye kit |
| Cooling tower or industrial loop | UV dye + UV light | Moderate | $100–$500 for industrial kit |
For situations where leak detection is done independently, the key equipment is a UV dye kit. The initial investment is negligible compared to the cost of hiring a plumber for diagnosis. Many leak detection solutions are sold as kits, including dye and a UV light source, eliminating the hassle of selecting individual equipment.
Please consult a professional in the following situations:
- The leak is located below the concrete slab, making it impossible for water to enter from above.
- The pipe was buried more than three feet underground.
- You have tried dye testing, but were unable to find the leak.
- The system operates under high pressure or contains hazardous liquids.
- Documents you need for insurance claims or regulatory compliance
Professionals will carry correlators, gas detectors, and endoscopes—equipment most DIY users will likely never need. However, for most standard residential and commercial plumbing leaks, targeted repairs following dye testing are faster and cheaper than any professional diagnostics.
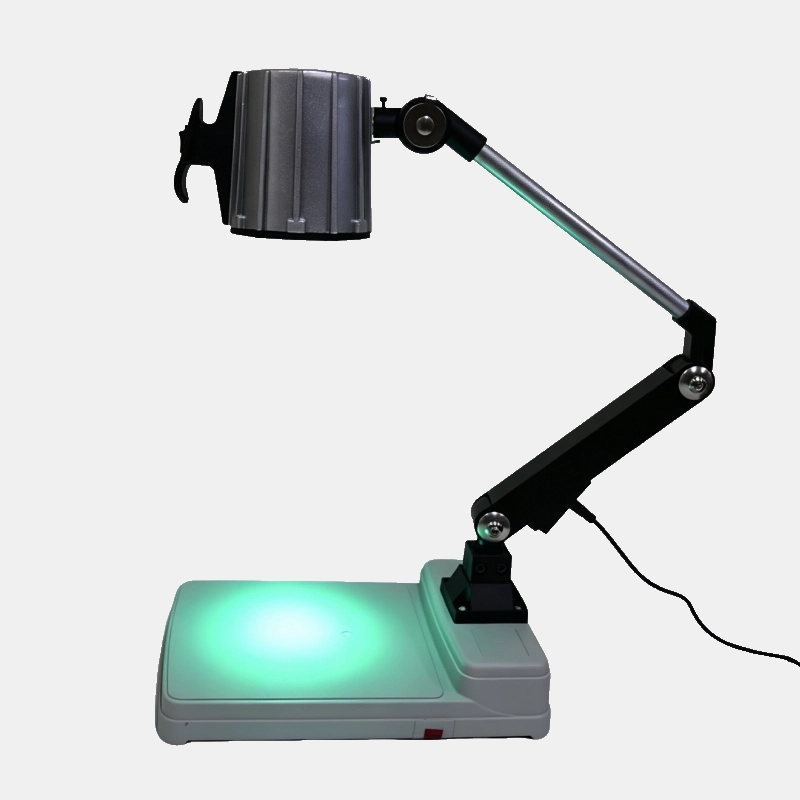
Detailed Steps: How to use UV dye to locate leaks
The procedure for detecting leaks using ultraviolet fluorescent dyes is predictable: the dye is injected into the system, circulated, scanned with an ultraviolet lamp, and the luminescent spots are marked. Each step has specific requirements to ensure the test is performed correctly.
Choose a suitable dye
Choose a dye formulation that matches your system type. Water-soluble dyes used in drinking water systems, if used in drinking water pipes, should be NSF certified. For closed-loop systems such as hydraulic heating or cooling towers, standard UV dye concentrates are sufficient. For swimming pools and spas, use dedicated pool-grade dyes. Dye concentration is also important. Follow the manufacturer’s dosing instructions. Too low a concentration will produce weak fluorescence that may be difficult to detect. Too high a concentration, while generally harmless, is wasteful.
Injection dyes
Locate the entry point in the system where dye can be injected. Common injection points include:
- purge port on hot water circulation loop
- Air vent valve in hydraulic system
- Toilet tank (for leaks in the toilet or water supply pipes)
- Pump basket or skimmer (for swimming pool or spa systems)
- Faucets or drain valves with adapters
For pressurized systems, use a dedicated dye injector or syringe. Never open the pressurization line without proper tools. Some UV leak detection kits include a syringe and adapter.
Dye cycle
After injecting the dye, operate the system normally. For piped systems, allow water to flow through each point of use for 30 to 60 seconds to flush the dye into the pipes. For hydraulic or circulating systems, run the pump for 10 to 15 minutes to ensure the dye reaches all branches of the loop. For swimming pools, operate the filtration system as normal. The dye needs time to reach each potential leak point. Rushing through this step is the most common mistake.
Ultraviolet light scanning
Darken the surrounding area as much as possible. Ultraviolet fluorescence is most easily observed in low-light conditions. Use a leak detection flashlight or lamp with a wavelength of 365 nm. Shine it along all accessible pipes, fittings, joints, valves, and connections. Look for bright green or yellow fluorescence. On non-porous surfaces, the dye will accumulate at the leak point and continue to glow. On porous surfaces such as concrete or drywall, the dye may diffuse slightly, but the fluorescence will still concentrate at the point of highest concentration, i.e., the leak source.
Marking and Repairing
Once you locate the leak, mark its position with a pencil, tape, or marker. If the leak is easily accessible, you can proceed with repairs. If the leak is located inside a wall or under a floor, cut along the marked line. When cutting, start from the marked line and work outwards, rather than trying to guess the location based on measurements.
After maintenance, thoroughly flush the system. Most water-soluble dyes can be removed by normal water flow, but flushing with tap water ensures that no dye residue remains in the system.
Errors that made the leakage problem worse
The most common mistake people make when dealing with leaks is acting too quickly, taking temporary measures to cover up the symptoms without addressing the root cause, which inevitably leads to the damage continuing to worsen in the shadows.
Applying pipe patches or epoxy resin to repair water supply pipes without first assessing the extent of corrosion is a prime example. A patch might temporarily stop a leak, but other parts of the pipe may also be severely corroded and prone to failure. Proper testing procedures must be followed before any repairs to determine whether you are dealing with an isolated fault or a systemic problem.
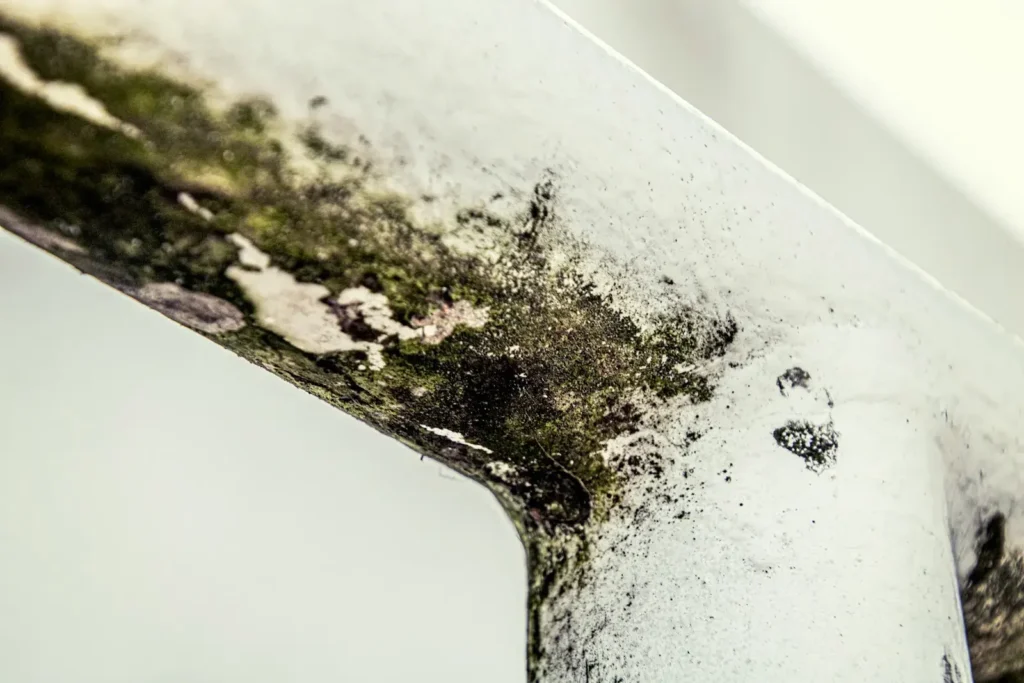
Another common mistake is assuming the problem is solved simply by turning off the water. Even though the water has stopped flowing, moisture remains in the cavities of the walls or floors. Without drying and monitoring, mold can begin to grow within 24 to 48 hours. Only after mapping the affected area can subsequent repair work be carried out, and only then is the mold detection considered complete.
If the first method fails, relying on a single testing method is another pitfall. If visual inspection reveals no problems, a UV dye test should be performed. If the dye test fails due to pipe purging, different inspection points should be tried. Each method has its blind spots, and combining multiple methods can compensate for these blind spots.
Using the wrong dye formulation can also cause problems. Oil-based dyes used in refrigeration systems must never be used in drinking water pipes. They will not dissolve properly and may clog downstream pipes. Always ensure that the dye’s chemical composition matches the fluids in your system.
Skipping the cyclic steps and expecting immediate results can lead to false negatives. The dye needs time and flow to reach every branch of the system. Scanning immediately after injection only verifies whether the dye has reached the nearest junction, not whether it has reached the entire circuit.
Finally, neglecting to inspect worn O-rings, cracked gaskets, and loose joints and accessories after a leak is discovered will result in missed opportunities for timely intervention. Leaks at threaded connections are rarely caused by the threads themselves; they are usually due to seal failure. Replacing the seals on-site can prevent repeat visits due to the same problem.
FAQ
Will ultraviolet fluorescent dyes damage my pipes or water supply system?
No. Water-soluble UV leak detection dyes are chemically neutral and formulated to be compatible with standard pipe materials, including copper, PVC, PEX, CPVC, galvanized steel, and stainless steel. They will not react with sealants, gaskets, or valve components. For drinking water systems, please use NSF-certified formulations to ensure no impact on water quality.
How long does a UV dye test take from start to finish?
For most residential plumbing systems, the entire process takes 30 to 60 minutes. The injection process takes approximately 5 minutes. The circulation process takes 10 to 20 minutes, depending on the size of the system. The scanning process takes another 10 to 30 minutes, depending on the number of pipes that can be inspected. Large commercial systems or complex loop networks may require several hours to complete a full inspection.
Does home insurance cover leak detection and repair?
Most standard home insurance policies cover unexpected flooding, but not the cost of leak detection itself. Some policies may include a certain amount for demolition and repair costs (such as cutting through walls or floors to find the leak), but inspection and plumbing repair costs are usually the homeowner’s responsibility. It is advisable to review your policy before authorizing a professional to perform the inspection, especially for leaks in the foundation and underground pipes.