A car air conditioning system that blows warm air on a hot day is more than an inconvenience. It points to a refrigerant leak somewhere in the closed-loop system. Refrigerant does not get consumed during normal operation. If the charge is low, there is a leak. Finding that leak used to mean hours of guesswork with soap bubbles or electronic sniffers that triggered on every trace of solvent in the shop. UV dye changed that.
UV dye injection, combined with a UV inspection light, is the most reliable method for finding car AC refrigerant leaks. The dye circulates with the refrigerant and oil, escapes at the leak point, and glows bright yellow-green under ultraviolet light, making even pinhole leaks visible within minutes.
Here is how the process works, what equipment you need, and how to do it correctly the first time.
What causes car AC refrigerant leaks?
Refrigerant leaks happen when seals, O-rings, hoses, or metal components corrode, crack, or loosen over time. The most common leak points are compressor shaft seals, service port Schrader valves, evaporator cores, condenser fins, and hose crimp connections.
Heat cycling and vibration are the two main enemies. A car’s AC system cycles between high and low pressure dozens of times per trip. Rubber O-rings harden and shrink. Aluminum components form micro-cracks from constant thermal expansion and contraction. Road debris kicks up and dents the condenser, especially on vehicles where the condenser sits in front of the radiator with no protective grille.
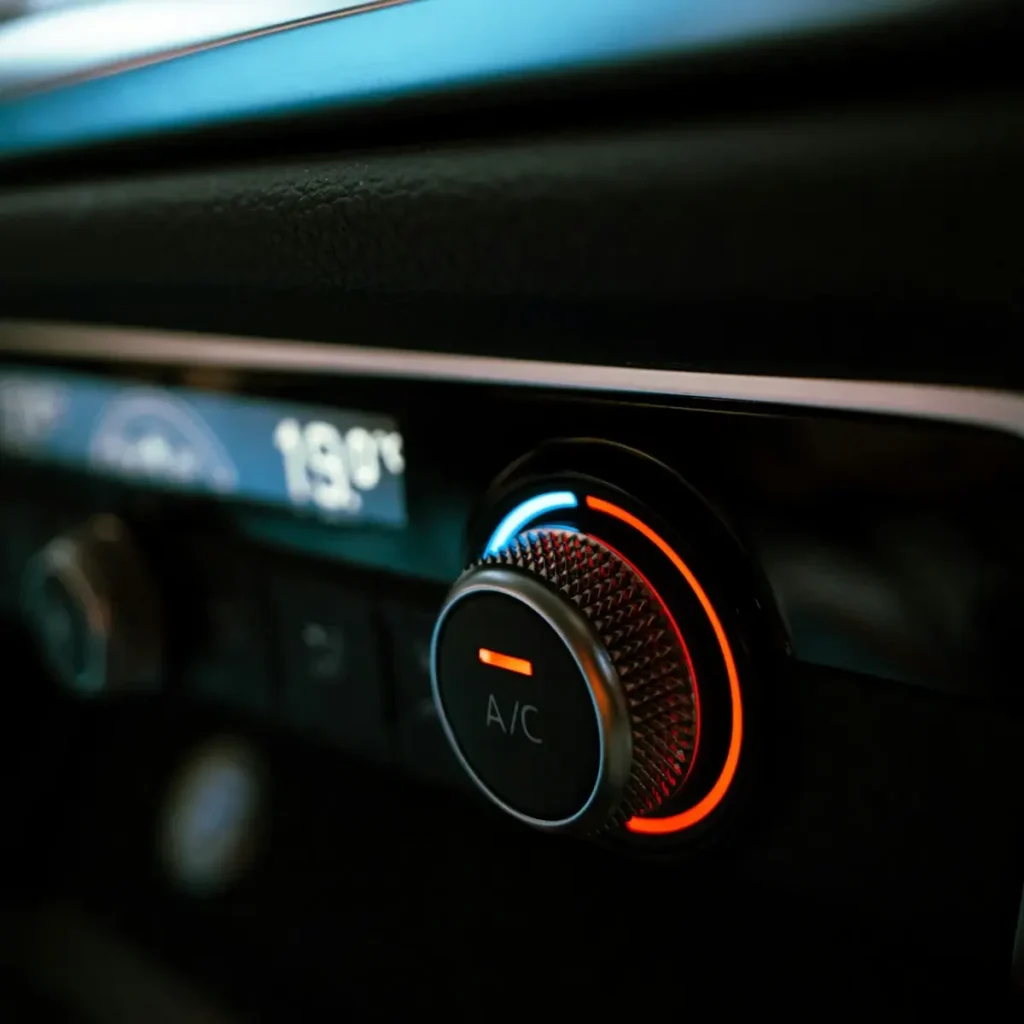
In automotive HVAC systems, the evaporator is the hardest leak point to access. It lives inside the dashboard, buried behind the blower motor and heater core. Technicians often spend 3-4 hours just pulling the dash to reach it. An accurate diagnosis before disassembly saves money and keeps the customer’s car off the lift for days.
Common leak locations by frequency
| Location | Cause | Difficulty to access |
|---|---|---|
| Service port valves | Worn Schrader valve cores | Low |
| Compressor shaft seal | Heat damage, normal wear | Medium |
| Condenser | Road debris impact, corrosion | Medium |
| Hose crimp connections | Vibration loosening | Low to Medium |
| Evaporator core | Internal corrosion, micro-cracks | High |
| O-ring connections | Age hardening, shrinkage | Low to Medium |
Condenser damage from road debris is especially common on modern vehicles where the grille opening is large and the condenser sits close behind it. A rock at highway speed can punch a hole smaller than a pinhead, too small to see but big enough to drain the refrigerant charge in a week.
Seasonal patterns also play a role. The first hot week of spring is the busiest time for AC leak diagnostics. Systems that held pressure all winter, when O-rings were cold and contracted, start leaking as soon as temperatures rise and the rubber expands and contracts with each heat cycle. A car that sat unused through the winter is more likely to have dried-out seals than one driven daily. Compressor shaft seals, in particular, rely on a thin film of oil to maintain a gas-tight barrier. When the car sits for months, that oil film drains away and the seal can stick to the shaft, tearing a micro-groove the first time the compressor engages in spring.
What is leak detection UV dye and how does it work?
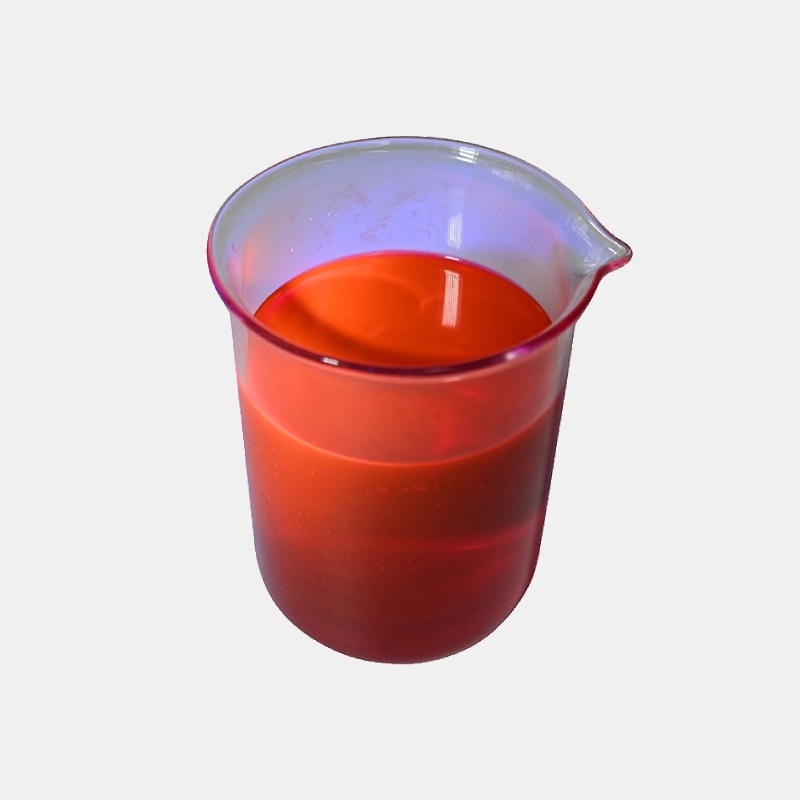
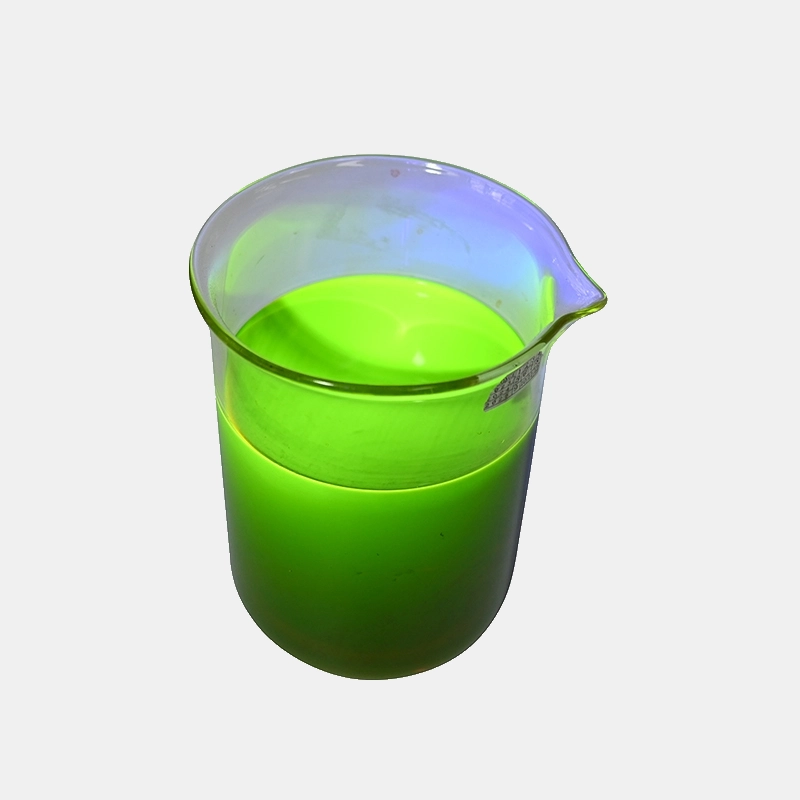
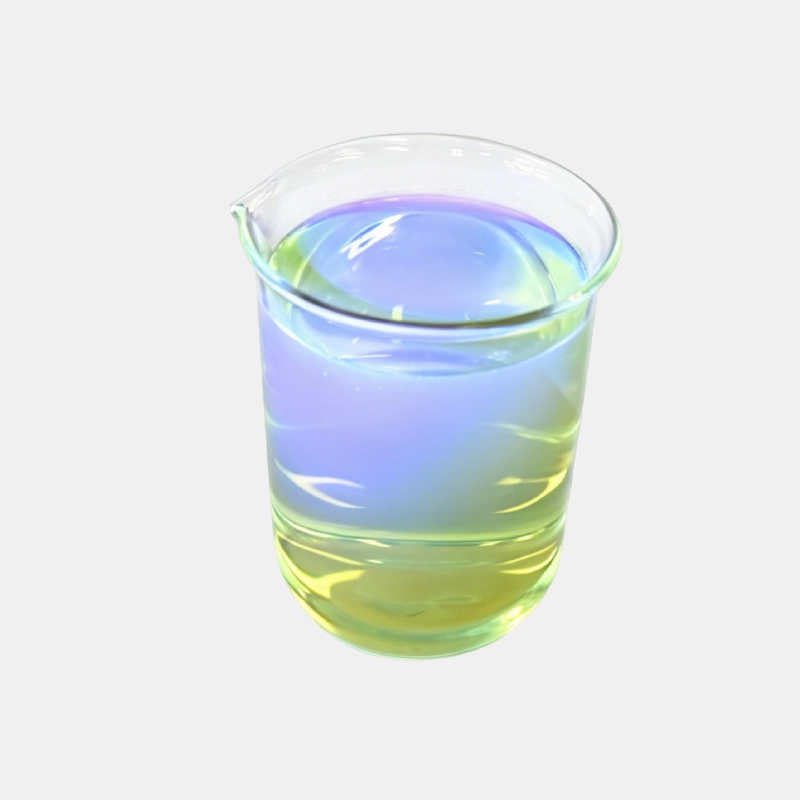
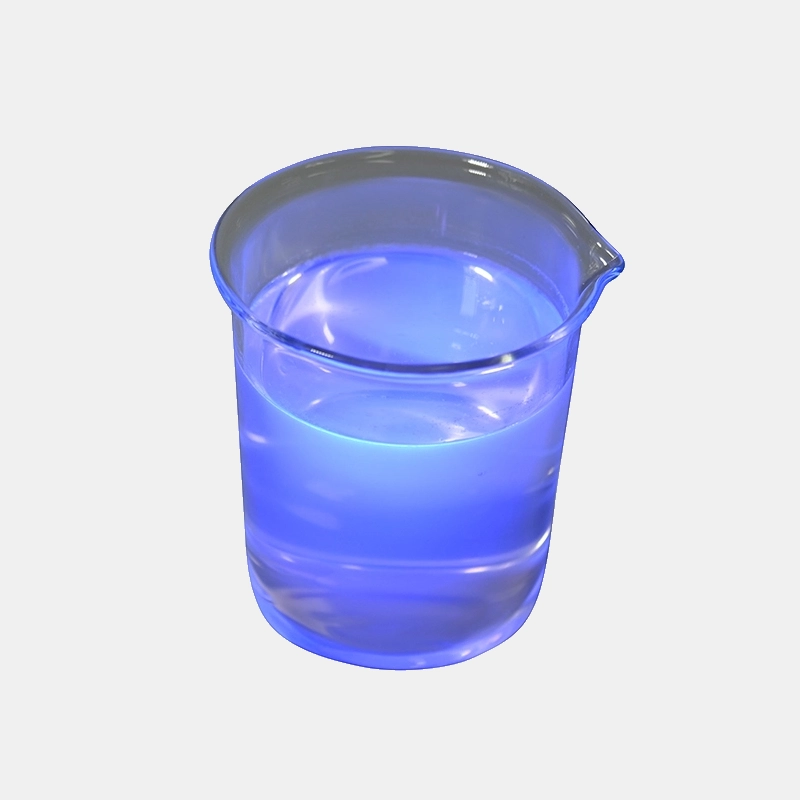
Leak detection UV dye is a fluorescent liquid that mixes with the refrigeration oil and circulates through the AC system. When it escapes through a leak and is exposed to ultraviolet light at 365 nm, it emits a bright yellow-green glow that is easy to spot even in daylight.
The science behind it is simple. Fluorescent UV leak detection dyes contain molecules engineered to absorb ultraviolet photons and re-emit them at a longer wavelength in the visible spectrum. The human eye is highly sensitive to the yellow-green range (around 520-560 nm), so even a tiny amount of dye fluoresces clearly against dark engine components.
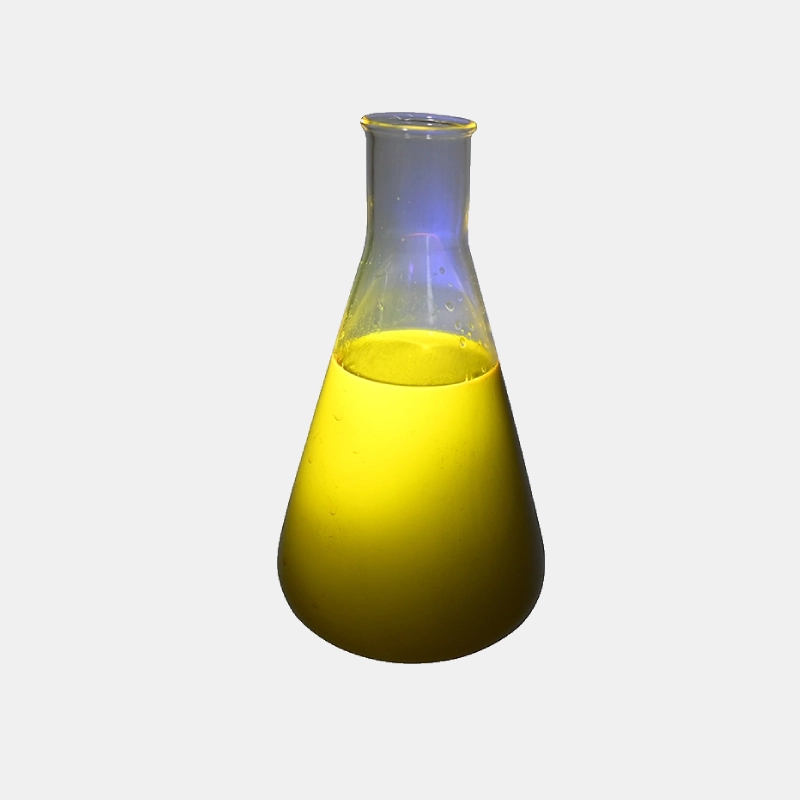
UV dye has been used in industrial leak detection since the 1960s. The automotive aftermarket adopted it in the 1990s, and most car manufacturers now ship vehicles with dye already in the AC system from the factory. If you are working on a car less than 10 years old, there is a good chance the system already has dye in it and you can skip straight to the inspection step.
A common question is whether the dye damages the AC system.UV fluorescent leak detection dyes are formulated to be chemically inert with refrigerants R-134a and R-1234yf, as well as with PAG and POE compressor oils. They do not clog expansion valves or accumulate in the receiver-drier. The dye particles are sub-micron size, far smaller than the system’s filter mesh.
Types of UV dye
There are three main forms of leak detection UV dye for automotive use:
-
Liquid concentrate dye – Sold in small bottles of 1-4 oz. Injected with a dedicated dye injector tool. Best for shops doing multiple jobs per day.
-
Pre-mixed dye cartridges – Factory-sealed cartridges containing a precise dose of dye already suspended in refrigeration oil. No measuring, no mess. Push-to-connect fittings mate with standard manifold gauge hoses.
-
Aerosol dye injectors – Pressurized cans that push dye through the low-side service port in about 30 seconds. Good for the DIY user or a shop doing occasional AC work.
What equipment do you need for UV dye leak detection?
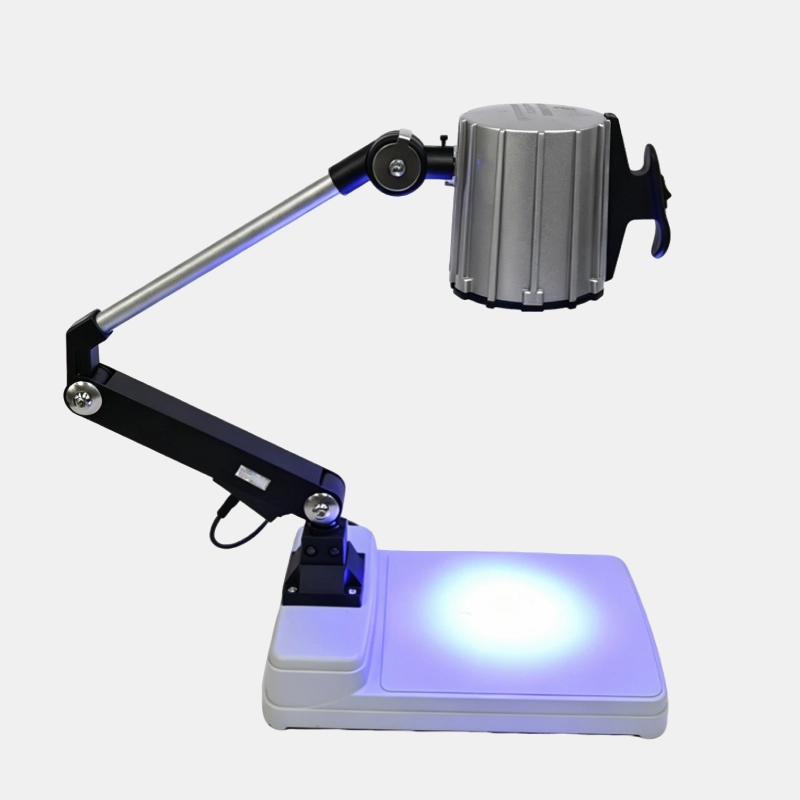
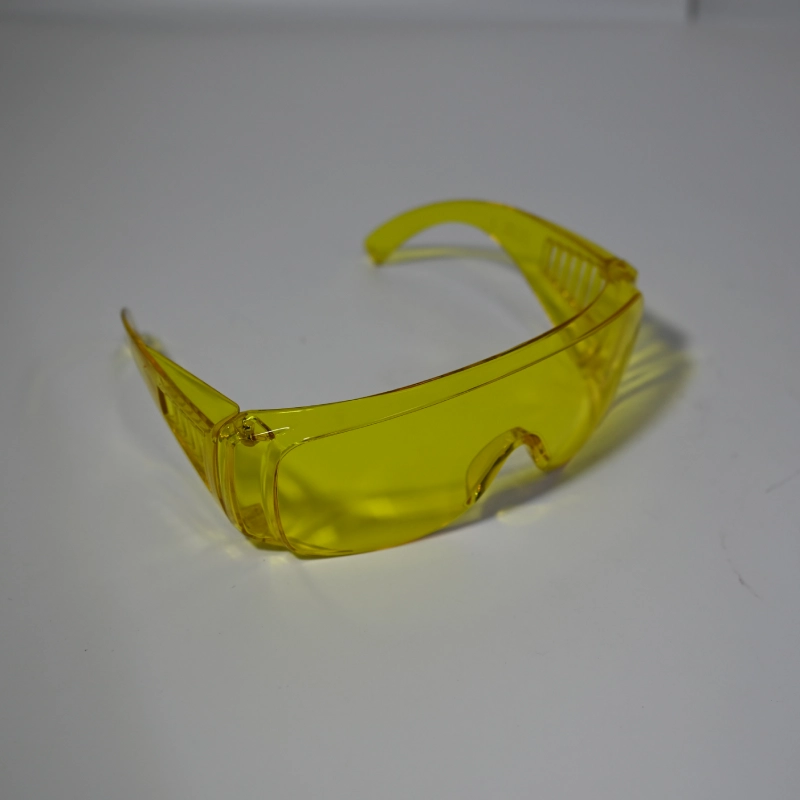
The minimum setup requires a UV inspection light operating at 365 nm wavelength, a pair of yellow-tinted contrast glasses, and a bottle of HVAC-grade UV dye. A dye injector tool is needed if the dye is not in a pre-filled cartridge or aerosol can.
The UV leak detection light is the heart of the kit. Not all UV lights are equal. A cheap 395 nm flashlight from an online marketplace will make some dye glow, but nowhere near as brightly as a true 365 nm inspection lamp. The difference is in the excitation efficiency. Most HVAC dyes have peak absorption around 365 nm. At 395 nm, the absorption drops by over 60 percent, meaning you need a lot more dye at the leak site to see the same glow.
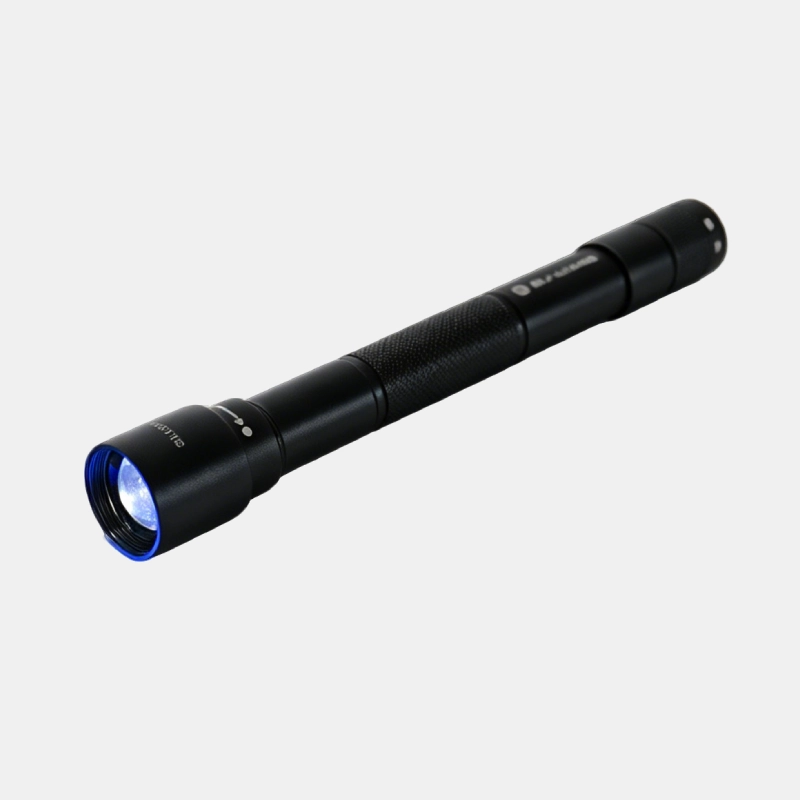
A UV leak detection flashlight designed for automotive use typically has a high-output LED array behind a Woods glass filter that blocks visible light while passing UV. Look for a light that runs on rechargeable lithium batteries, has a rated output of at least 3 watts of UV, and uses a filter that transmits cleanly at 365 nm without too much visible purple spill. Too much visible spill washes out the fluorescence and makes small leaks hard to see.
Complete equipment checklist
| Item | Notes |
|---|---|
| UV inspection light | 365 nm LED, minimum 3W output |
| Yellow contrast glasses | Block reflected UV, enhance dye visibility |
| UV dye | HVAC-grade, R-134a or R-1234yf compatible |
| Dye injector (if using liquid dye) | Piston-type or caulking-gun style |
| Manifold gauge set | To check system pressure before injection |
| UV protective gloves | Optional, prevents skin staining |
Yellow glasses are not optional. They filter out the UV and blue-purple spill from the light while passing the yellow-green fluorescence. Without them, small leaks disappear in the visible glare, especially in a brightly lit shop.
Step-by-step: How to use UV dye to find a car AC leak
Inject the dye into the low-side service port with the AC system running, let the dye circulate for 5-15 minutes, then scan every component and connection with a UV inspection light while wearing yellow contrast glasses. The leak glows bright yellow-green.
Leak detection solutions vary by vehicle and shop setup, but the core procedure stays the same. Here is the full sequence.
Step 1: Verify the system has refrigerant
Connect a manifold gauge set to the high and low side service ports. A completely empty system needs a partial charge before dye injection because the dye must circulate. If static pressure is below 10 psi, add enough refrigerant to bring the low side to about 30 psi at rest so the compressor clutch engages.
Step 2: Inject the dye
With the engine running and the AC set to max cool with the blower on high, inject the dye into the low-side port. The compressor pulls the dye in with the refrigerant. If using a liquid dye injector, follow the tool manufacturer’s volume recommendation. A typical passenger car takes 1/4 to 1/2 oz of concentrated dye.
Step 3: Let the dye circulate
Let the system run for at least 5 minutes. Drive the vehicle around the block if possible. The goal is to push dye through every inch of the refrigerant loop, including the evaporator and all hose connections. Fifteen minutes of run time is even better.
Step 4: Scan with the UV light
Put on the yellow glasses, turn off the shop lights or work in shade, and scan systematically. Start at the compressor and follow the high-side line to the condenser, then the low-side line back from the evaporator. Check every fitting, every hose crimp, every O-ring joint. Pay special attention to:
- Compressor body seam and shaft seal area
- Service port valve stems (remove the plastic caps first)
- Condenser face, especially the lower corners where debris collects
- Hose crimps where rubber meets aluminum
- Evaporator drain tube (shine the light into the tube or check the drain water for dye)
Step 5: Confirm and document
When you find the glow, wipe the area clean with a rag, run the system another 2 minutes, and recheck. Dye reappearing at the same spot confirms the leak. Take a photo with the UV light for the customer record.
What to do if you do not see dye anywhere
Sometimes the dye is inside the system but no glow is visible on the outside. This happens most often when the leak is small and the dye has not yet built up enough mass at the leak point. Several things to try before giving up:
- Run the system longer. A slow seep may take 30 minutes of run time before enough dye accumulates.
- Check the evaporator drain more carefully. Use a cotton swab inside the drain tube and shine the UV light on the swab. Dye transfers to the cotton and glows even when you cannot see it directly in water droplets.
- Increase the dye dose slightly. If you used the minimum recommended amount, add another 1/8 oz and run the system again.
- Turn off the UV light and let your eyes adjust to the dark for 30 seconds. Some leaks are faint and your eyes need full dark adaptation to pick them up.
- Look at the AC compressor oil itself. Pull the compressor oil dipstick or check the sight glass if the compressor has one. Dye in the oil confirms dye is present in the system.
If none of these steps reveal dye, the system may have lost its refrigerant through a leak that has temporarily sealed itself, or the compressor is not circulating the dye properly because of a mechanical failure. In that case, a partial recharge with refrigerant and a second dye dose usually resolves it.
How to choose the right UV leak detection dye
Pick a dye that matches the refrigerant type and compressor oil in the vehicle. R-134a and R-1234yf systems use different dye formulations. Also check the dye concentration. More concentrated dyes cost more per ounce but do more jobs per bottle.
UV dye for HVACR applications is not one-size-fits-all. The dye base must be compatible with the lubricant. PAG oil, used in most R-134a systems, and POE oil, common in R-1234yf and hybrid electric compressors, have different chemical properties. A dye made for PAG oil may not mix properly with POE oil and can separate out, giving you a false negative.
Dye selection factors
| Factor | What to check |
|---|---|
| Refrigerant compatibility | R-134a or R-1234yf rated |
| Oil compatibility | PAG, POE, or universal |
| Concentration | Standard vs. high-concentrate |
| Container format | Bottle, cartridge, or aerosol |
| Dosage per vehicle | Follow label recommendation |
High-concentration dyes are the better value for a busy shop. One ounce treats 4-6 vehicles. Standard concentration requires 1-2 oz per vehicle. The price difference per ounce is small, but the per-job cost difference adds up quickly.
Aerosol dye injectors work well for the DIY user who does one AC job a year. The can threads onto the low-side port and pushes dye in under its own pressure. No separate injector tool needed. The tradeoff is cost per dose. An aerosol can treats one or two vehicles and costs more per job than buying a bottle and injector.
Common mistakes to avoid during UV leak detection
The most frequent mistakes are using too much dye, not letting it circulate long enough, mistaking assembly lube for a leak, and running the UV light over components that already have old dye residue from previous repairs.
Too much dye is a real problem that creates false positives. When you overdose the system, dye pools in low spots and drips onto components below. You end up chasing “leaks” that are actually just gravity-fed drips from an overfilled compressor sump. Stick to the labeled dosage. If the bottle says 1/4 oz, use 1/4 oz.
Old dye residue from a previous repair is another common trap. A system that leaked at the condenser, got a new condenser installed, and was recharged with more dye will still have dye residue on the radiator support and surrounding hoses from the original leak. Clean the entire area with a solvent spray and a rag before you start scanning. Otherwise you will flag the old stain as a current leak.
Choosing the right lamp
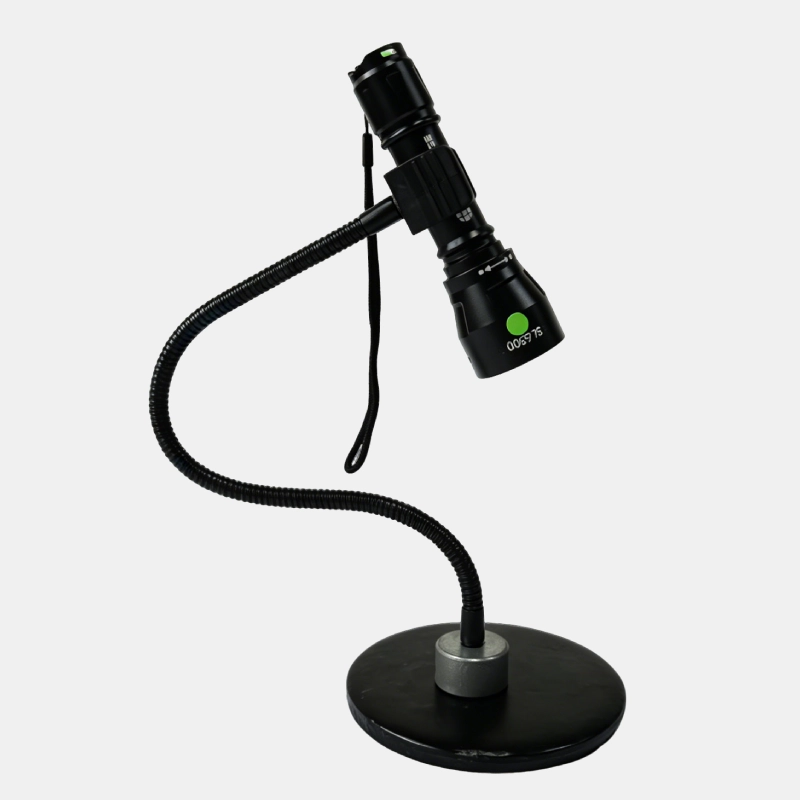
An auto fluorescent leak detection lamp with enough power makes the difference between finding a leak in 30 seconds and spending 30 minutes squinting at everything. A weak lamp misses pinhole leaks, especially on the evaporator where the dye has to travel through condensed water and out the drain before it becomes visible.
Other mistakes to avoid:
- Scanning without yellow glasses. You lose at least half the visible fluorescence.
- Forgetting to check the evaporator drain. Over half of hard-to-find AC leaks are in the evaporator.
- Injecting dye into a high-side port instead of the low side. This can force liquid slug into the compressor.
- Using dye that has been sitting on the shelf for years. Dye degrades over time, especially if exposed to heat.
UV dye vs. other leak detection methods
Electronic leak detectors and soap bubbles each have their place, but UV dye is the only method that finds every leak type in every location without false positives from background chemicals in the shop environment.
Here is how the three main methods compare.
Electronic sniffers
Electronic leak detectors use a heated-diode or infrared sensor to detect refrigerant molecules in the air. They are fast and require no dye injection, but they have serious limitations. They cannot tell R-134a from brake cleaner, carb spray, or even some tire shine products. In a busy shop with multiple vehicles and chemical vapors in the air, the sniffer beeps at everything. They also struggle with very small leaks where the refrigerant concentration at the surface is below the detection threshold.
Soap bubbles
Soap solution, applied with a brush or spray bottle, works on accessible connections and fittings. Bubbles form where gas escapes. The method is cheap and requires no special tools. The problems: it only works on pressurized systems (if the system is already empty, no bubbles), it cannot detect evaporator leaks without pulling the dash, and small leaks produce bubbles too tiny to see unless you stare at each joint for a full minute.
UV dye method
UV dye finds leaks the other methods miss. It works on pressurized and depressurized systems (the dye is already at the leak site), finds evaporator leaks by checking the drain tube, and produces a visual result that you can photograph for the customer. The only real disadvantage is the time needed for injection and circulation, which adds 10-15 minutes to the job. For a shop billing diagnostic time, that 15 minutes pays for itself in avoided comebacks.
| Method | Small leak detection | Evaporator access | False positives | Cost per use |
|---|---|---|---|---|
| UV dye | High | Yes (via drain) | Low | $2-4 |
| Electronic sniffer | Medium | No | High | $0.50 |
| Soap bubbles | Low | No | Low | $0.25 |
The cost per use for UV dye assumes buying a 1 oz bottle of concentrated dye and using 1/4 oz per vehicle. The UV light and glasses are a one-time purchase. A good rechargeable inspection lamp with a 365 nm LED costs between $50 and $150 and lasts for years.
When each method works best
No single method fits every situation. Shops that do high-volume AC work often combine methods. A quick pass with an electronic sniffer locates the general area of a large leak in seconds. The UV dye then confirms the exact spot and rules out false positives. Soap bubbles work as a verification step on accessible joints after the UV dye has narrowed the search.
For intermittent leaks that only happen under specific conditions, like when the engine is cold or the AC cycles at a certain pressure, UV dye has a clear advantage. The dye marks the leak site permanently. You can run the vehicle for a day, bring it back, and scan again without adding more dye. An electronic sniffer cannot do that. It only detects refrigerant escaping at the moment you are testing.
Conclusion
Finding a car AC refrigerant leak does not need to be a guessing game. UV dye turns an invisible problem into something you can see with your own eyes, and the process takes less than 30 minutes from start to finish. The key details that separate a clean diagnosis from a repeat visit are using the right dye concentration, letting it circulate long enough, scanning with a proper 365 nm UV light and yellow glasses, and checking the evaporator drain tube even when every other component looks clean.
For shops that do regular AC work, the initial investment in a quality UV light and dye injector pays for itself within the first jobs by cutting diagnostic time and eliminating false diagnoses that lead to unnecessary part replacements. For a DIY user, a basic UV flashlight and a can of aerosol dye costs less than one hour of shop labor and solves the problem on the first try.
FAQ
Can I use UV dye in an electric vehicle AC system?
Yes, but the procedure differs. Electric compressors use POE oil and are sealed differently from belt-driven units. Many EV compressors are hermetic designs with no external shaft seal, so the leak is more likely at a hose connection or inside the battery cooling loop if the vehicle uses a shared thermal management system. Make sure the dye is rated for POE oil and for the dielectric properties required around high-voltage components.
What does the dye look like inside the system after the repair is done?
The dye stays in the system permanently unless the oil is flushed. It does not harm performance or clog components. The next time the system needs a leak check, you can skip the dye injection step and go straight to the UV scan. Some technicians mark the service sticker with “dye installed” so the next shop knows.
How long does UV dye last in the AC system before it fades?
Automotive-grade UV dye is chemically stable for the life of the compressor oil. Under normal operating temperatures, the fluorescent properties do not degrade. Testing on vehicles with dye installed 5-7 years earlier still showed strong fluorescence at leak sites. Heat beyond 400F accelerates dye breakdown, but AC systems do not reach those temperatures in normal operation.